Author: admin

  • How to Keep Deer Out Of Your Garden For GOOD!

    How to Keep Deer Out Of Your Garden For GOOD!

    Top Ways to Keep Deer out of the Garden

    Keeping deer out of your garden can be quite tricky whether you live in the city or the country. With increasing deer populations, we are seeing more and more issues with deer in urban areas. As a result, our gardens are seeing the damage, but deterring deer naturally is quite easy with the right plants and the right fencing techniques. I gathered up the top ways we have used to keep deer away from living on 15 acres. These tricks are not only easy to implement if you live on land but also for those in smaller settings as well.

    As a note, every herd and population of deer is different, and nothing is 100% certain to deter deer, but these ways are quite tried and true in our own garden over the years. Here are the top ways to keep deer out of the garden, whether you are growing veggies, flowers, herbs, or anything in between.

    How To Keep Deer Out Of The Garden

    Top Plants to Keep Deer Out of The Garden

    Yes, choosing the right plants to perimeter your garden will be extremely helpful in keeping them away. I have seen it in action, actually with how deer move on the land around us. Here are the top plants I use to keep deer out of the garden:

    1. Lavender

    lavender

    Lavender is one of the best ways to keep deer away from the garden. Placing it around your garden in abundance will keep deer away. The plants not only won’t be eaten, but the deer won’t come near them. No need for them to have their blooms either. They can exist. The more, the better.

    2. Giant Marigolds

    giant marigold

    Standard marigolds work, too, but the Giant variety is EXTREMELY fragrant, and deer do not like them. Though they are edible to us as humans, deer, and other pests do not like their scent. They will keep the deer out of the garden without question. I have throughout the whole garden throughout the whole growing season.

    3. Yarrow

    yarrow

    This plant isn’t a favorite of deer because of the flavor and foliage variety, so they stay clear of it, especially when there is a large amount of it.

    4. Catmint

    catmint

    Strong smelling and repellent. This plant is one of the best to keep away deer. It is low maintenance and loves tons of sun. It also gets HUGE. It takes on a strong scent somewhere between mint and sage as part of the mint family.

    5. Hyssop

    hyssop

    Another strong-smelling plant that the deer do not like. It also creates a large height which, as you will read below, makes deer nervous about jumping and assessing how to get over.

    6. Russian Sage

    russian sage

    Another plant that is close to the Catmint in variety. It has a strong smell as well as beautiful flowers. It is beautiful but one that deer are not interested in. Also, the foliage has a texture they do not like.

    7. Dill

    dill

    Strong smelling and tall, dill holds a ton of resilience against deer in the garden. Planting it around the perimeter of a fence, can keep deer away from sneaking in or placing their heads over the fence to grab a snack.

    8. Salvias

    salvias

    One more that is similar to Catmint in variety. It is beautiful, and the bees and butterflies love it but will keep the deer away.

    9. Poppies

    poppies

    Deer do not enjoy these and are completely deer resistant. Using them to make deer believe that other items near them are not edible either is a great way to use them in the garden.

    10. Daffodils

    Top Ways to Keep Deer out of the Garden

    These plants are poisonous to deer, so they will avoid them completely in your garden and provide a barrier early in spring to keep deer away from young spring plants.

    Best Way to Keep Deer Out of Your Garden With a Fence

    A garden fence can be a great way to keep deer out of the garden. A fence such as this one that you can easily DIY can be a great option, but there may be a few ways to keep it both more affordable and more proactive at keeping deer out with less work. Here is what I mean:

    11. Create a fence with varying widths and heights

    Having a fence helps keeps deer out of your garden without a doubt, but you may not have to go as high as you think to keep out deer. Deers don’t do well with both height and depth perception. They don’t want to get stuck somewhere they cannot get out of, so if you have things that grow vertically, wires that zig-zag higher up, or you grow a hedge that varies in height, you can spend less on fencing, make a lower fence using cedar, and still keep the deer out as well. I’m a big fan of this beech hedge as it looks amazing when fully grown, and getting them as bare root means they are a lot cheaper too.

    Also Read: DIY Garden Fence

    12. Use broad rocky border beds

    Using larger rocks around your garden bed can actually be a deterrent to the deer as well. All you need to do is take larger rocks and place them in a thick band around your bed, and the deer will not go inside the bed. You can also plant things within the rock bed, but make sure they are deer deterrent plants. Deer do not like walking over large rocks to access something, so they simply will not do it.

    13. Fish Line or string has a lot of power

    Deer do not like not knowing what they may encounter, so if they have a hint that there is a string or something they cannot estimate in the way, they will not jump and access an area. Using a fish line or string is all you really need to create this. You can use a zig-zag pattern which will even create that sort of dimension for them.

    Other Ways to Easily Deter Deer From Your Garden

    14. Have a Dog

    Deer don’t like the smell of dog urine, so having dogs around will keep the deer away as well. It is at all a sure thing, but we have found it helps a lot.

    15. Light Deterrents

    You can use motion sensor lights or even these lights called Nite Guards to deter the deer from coming close to your garden. Either one creates a startling or predator response for the deer.

    16. Netting

    If you don’t have a fence, netting can also keep them out. Using bird netting to deter the deer or fleece can have the same effect on the deer.

    You can see the fence we have used to keep our garden safe from deer. So far, so good. The plants have kept the deer out, and the varying depths of plants have also acted as protection.

    FAQ

    How do I keep deer from eating my plants?

    The best way to keep the hungry deer out of your garden is with soap bars. Simply punch some holes in each bar, string them up around trees, and fencing near where you grow to produce–the sweet scent will be too much for even the most determined herbivores!

    What smells repel deer?

    Deer have an amazing sense of smell, which they use to find food. You can take advantage and repel deer by using smells that are disliked, such as marigolds or lavender; mint will do too! Don’t forget about fox urine – it will be effective for you this winter when hunting season starts again in a few months.

    If this article helped you how to keep deer out of the garden, consider checking out these articles below –

  • 10 Best Fertilizers for The Vegetable Garden

    10 Best Fertilizers for The Vegetable Garden

    woman in garden holding basket with veggies

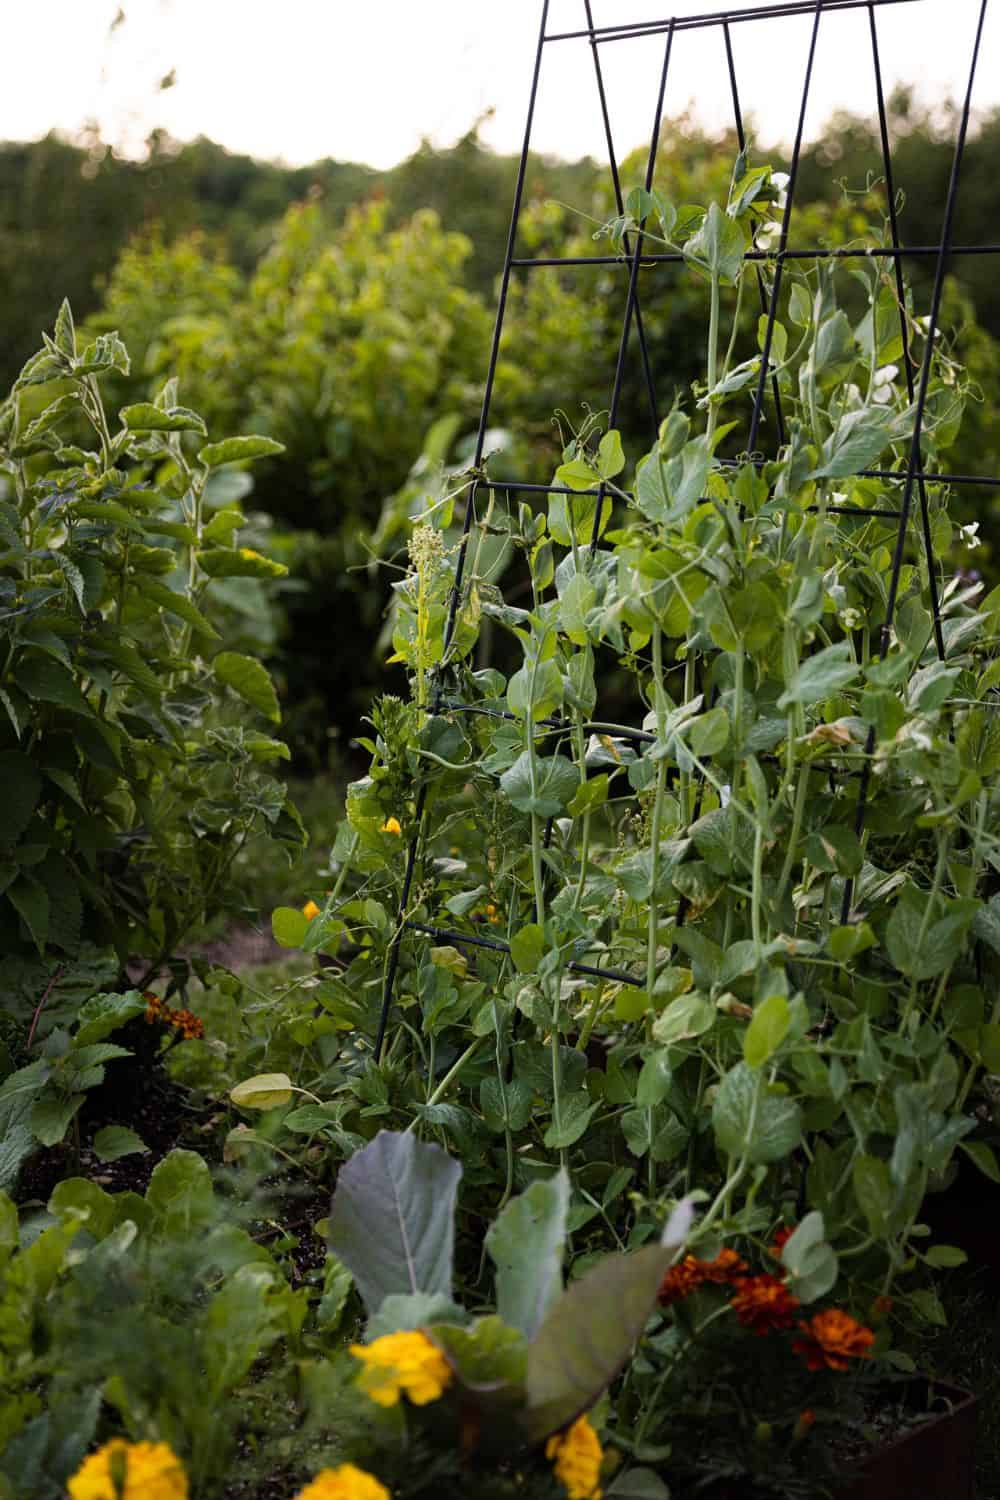
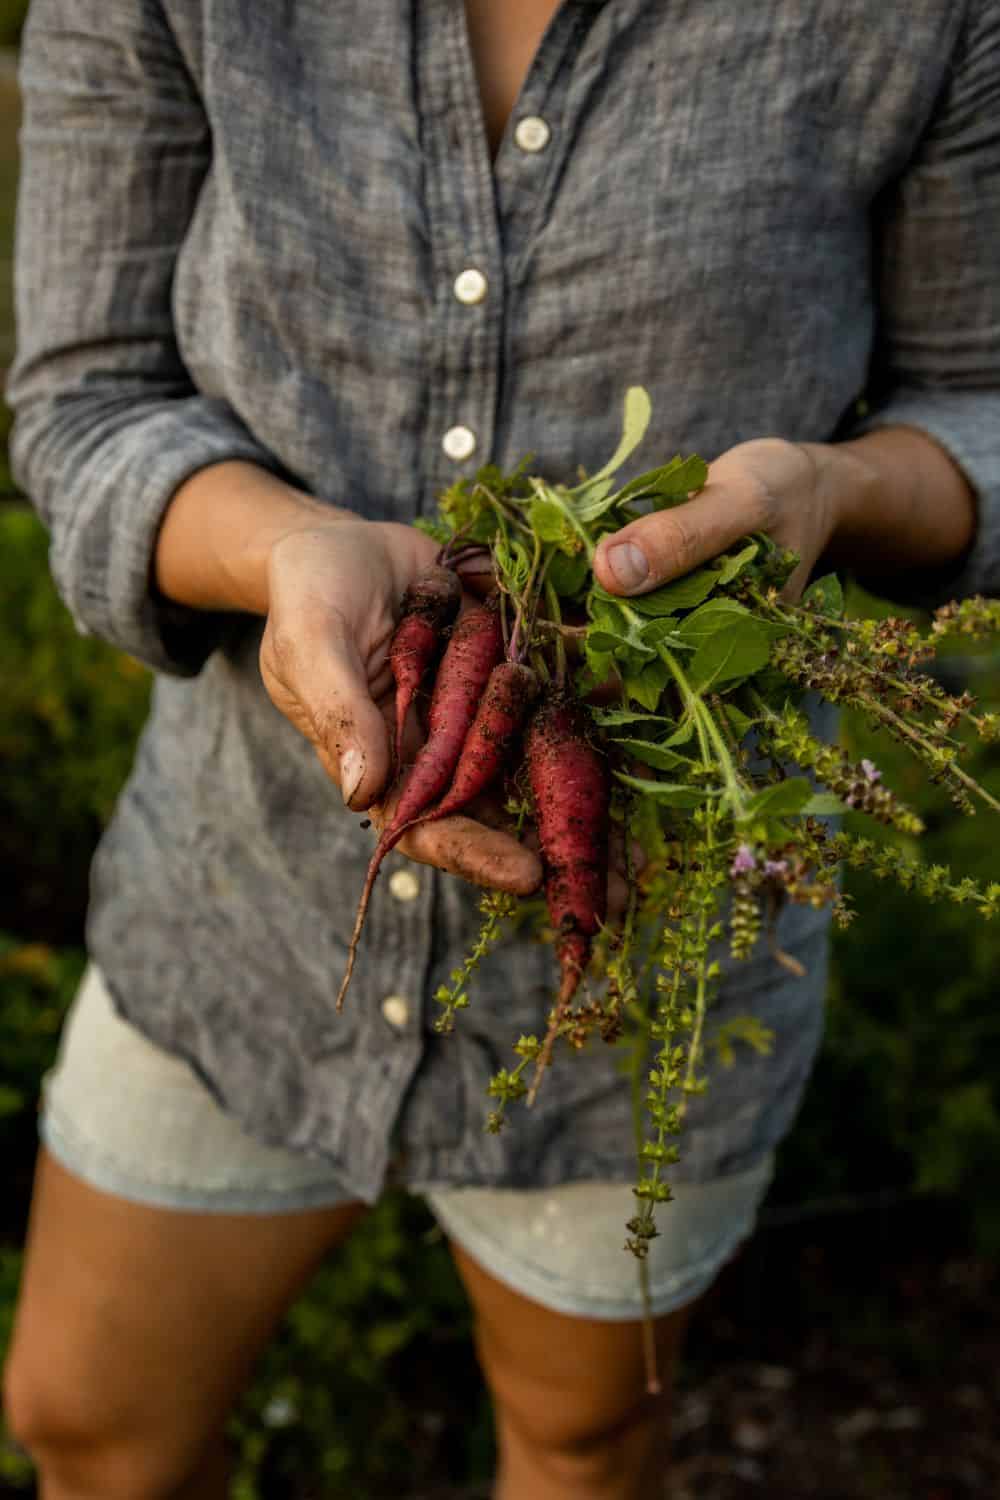
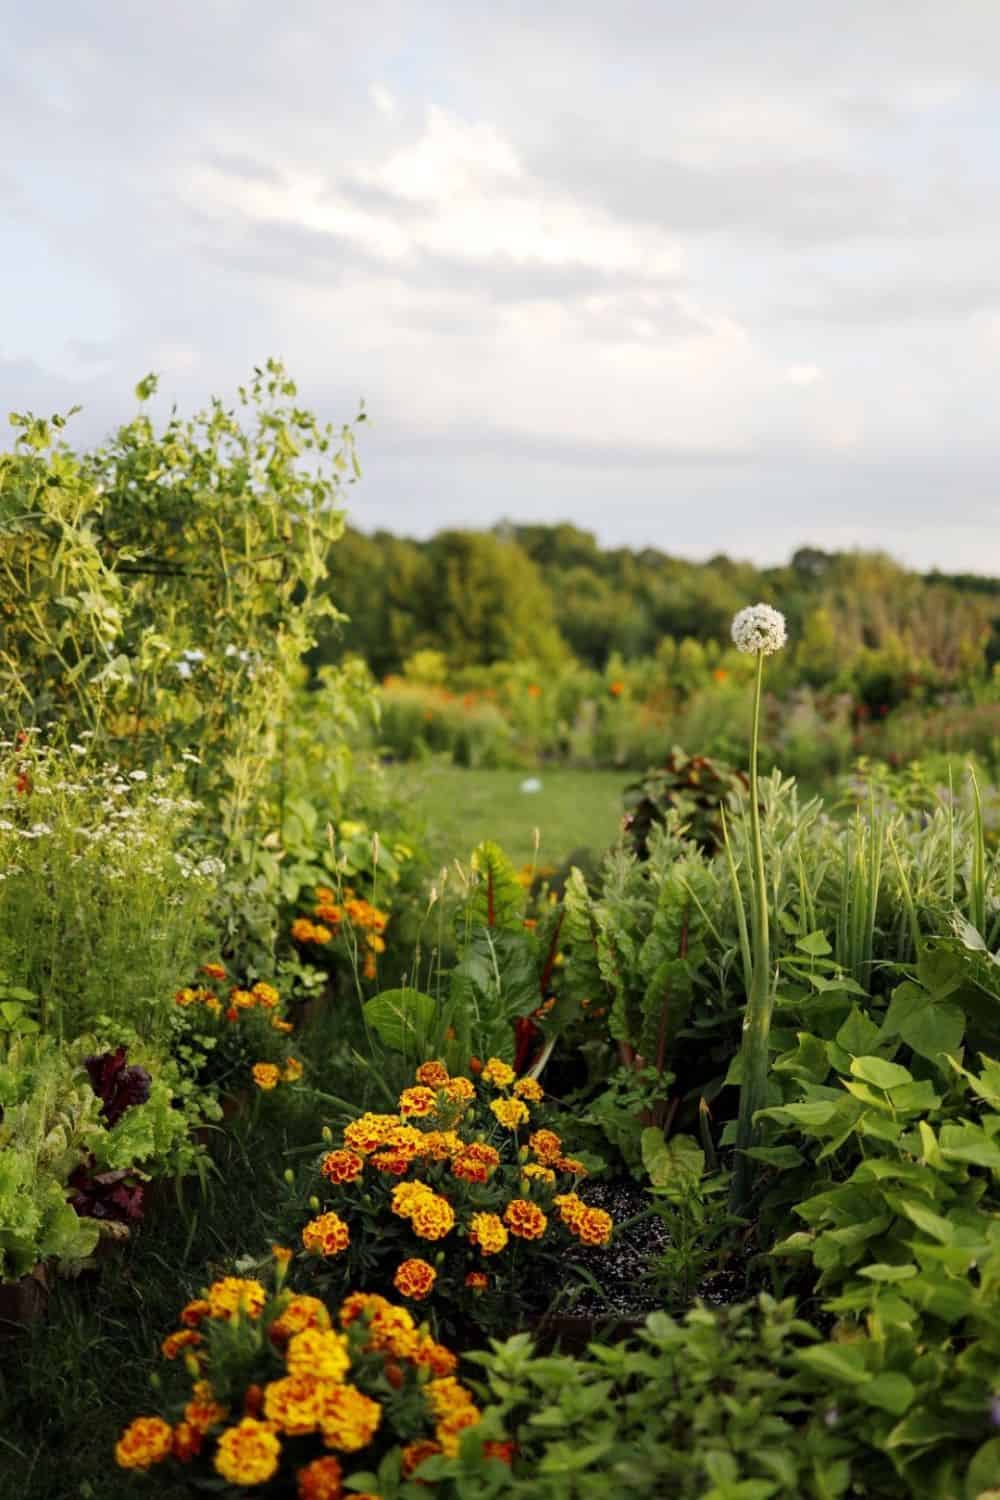
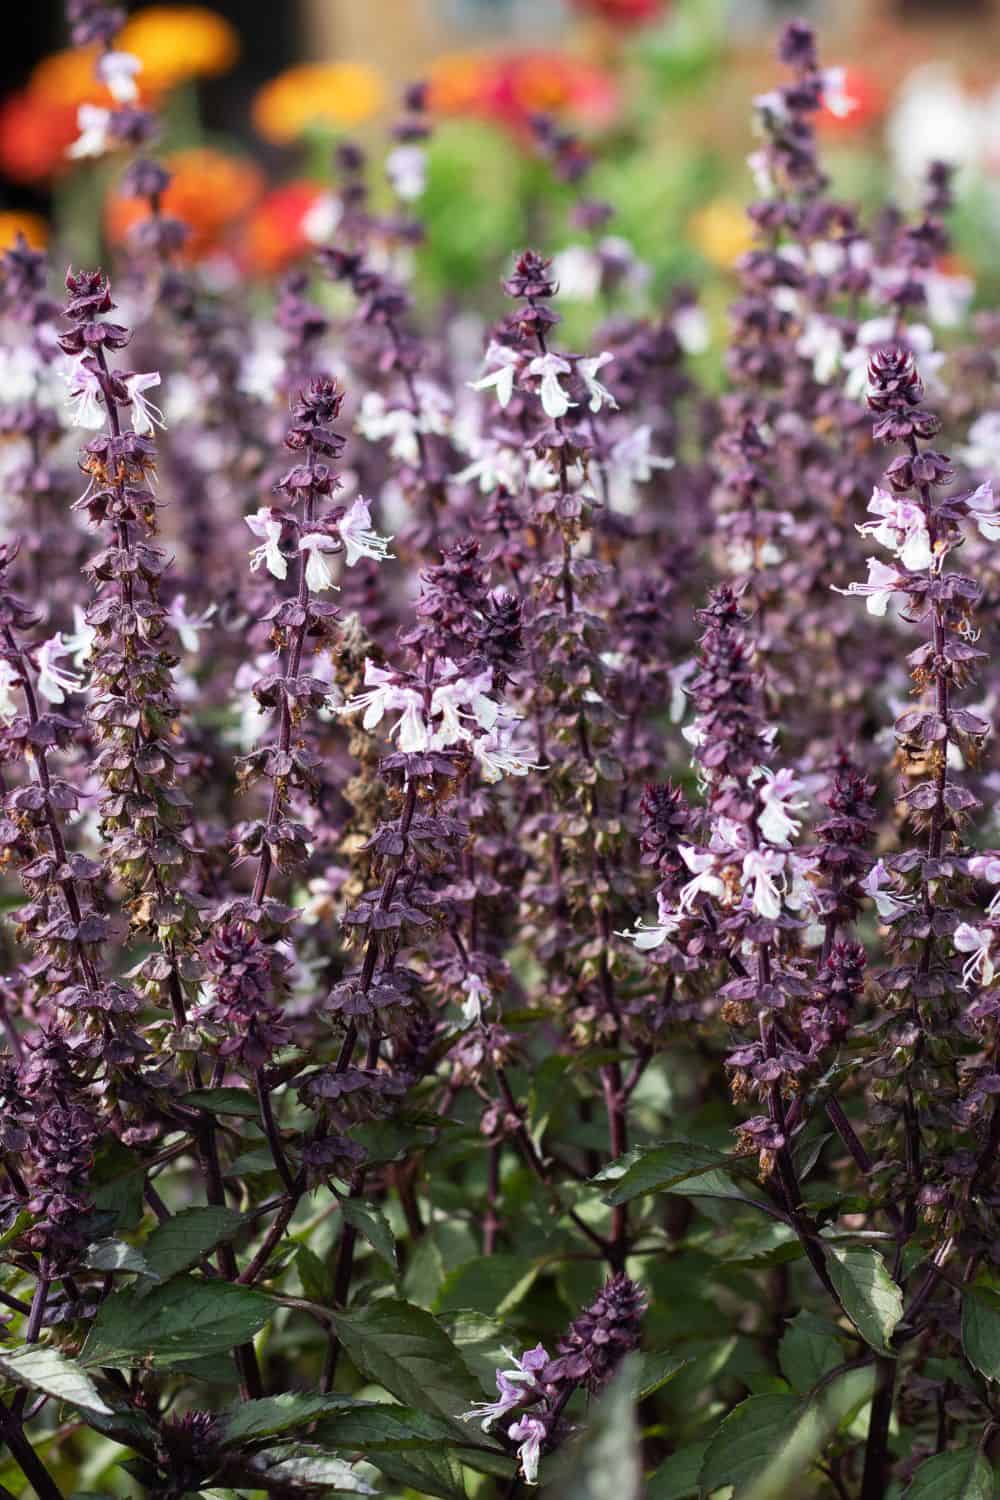
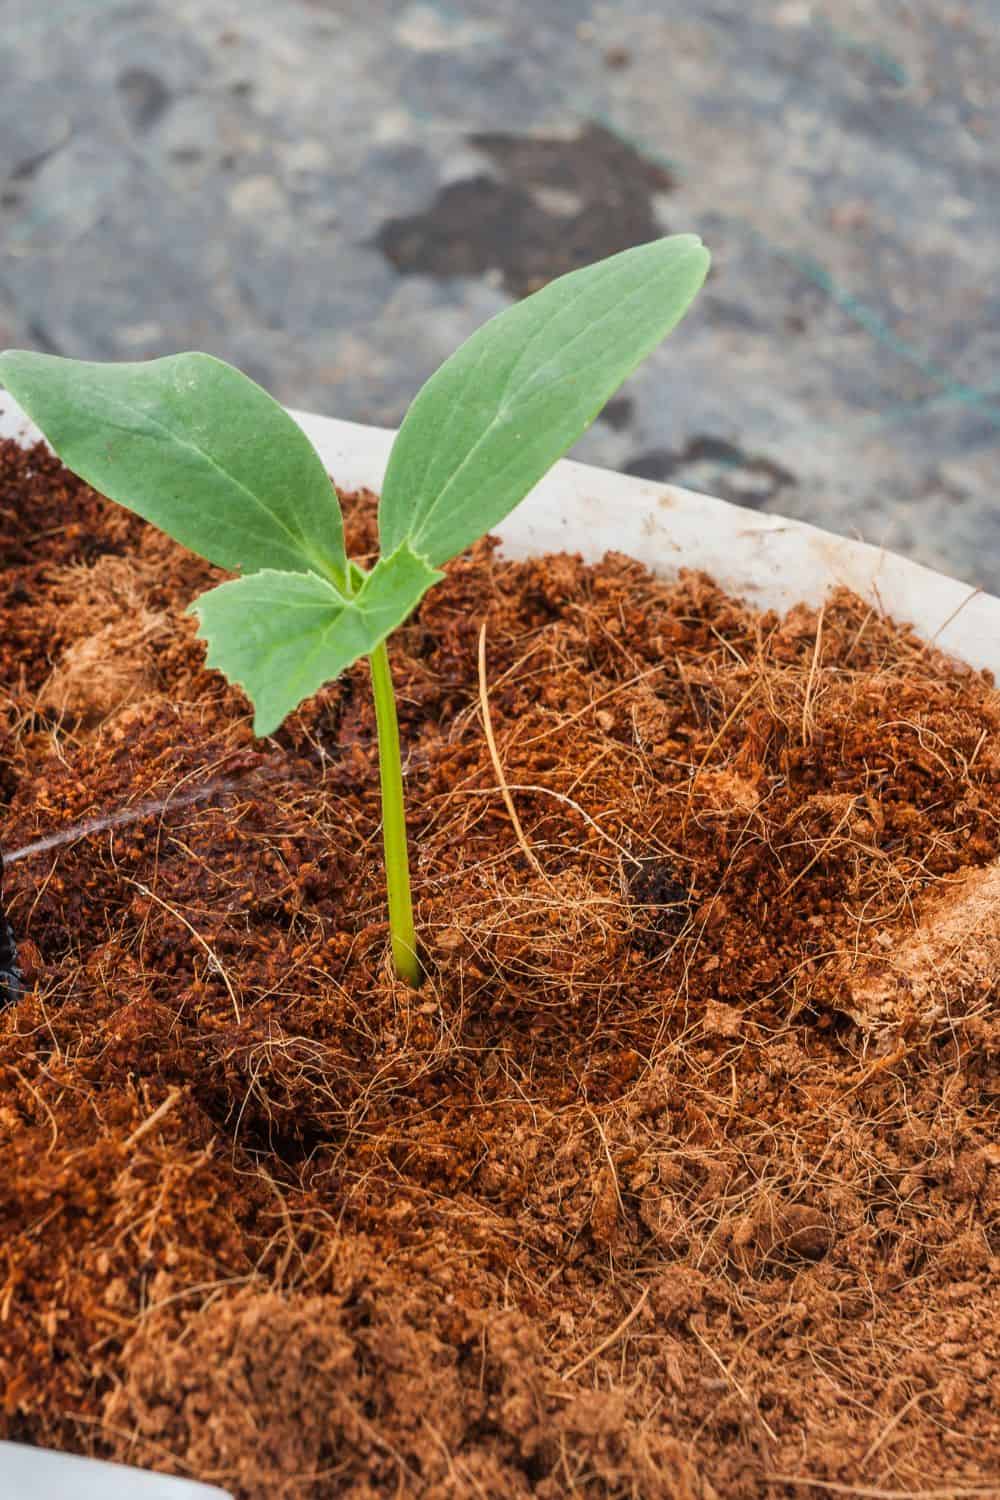
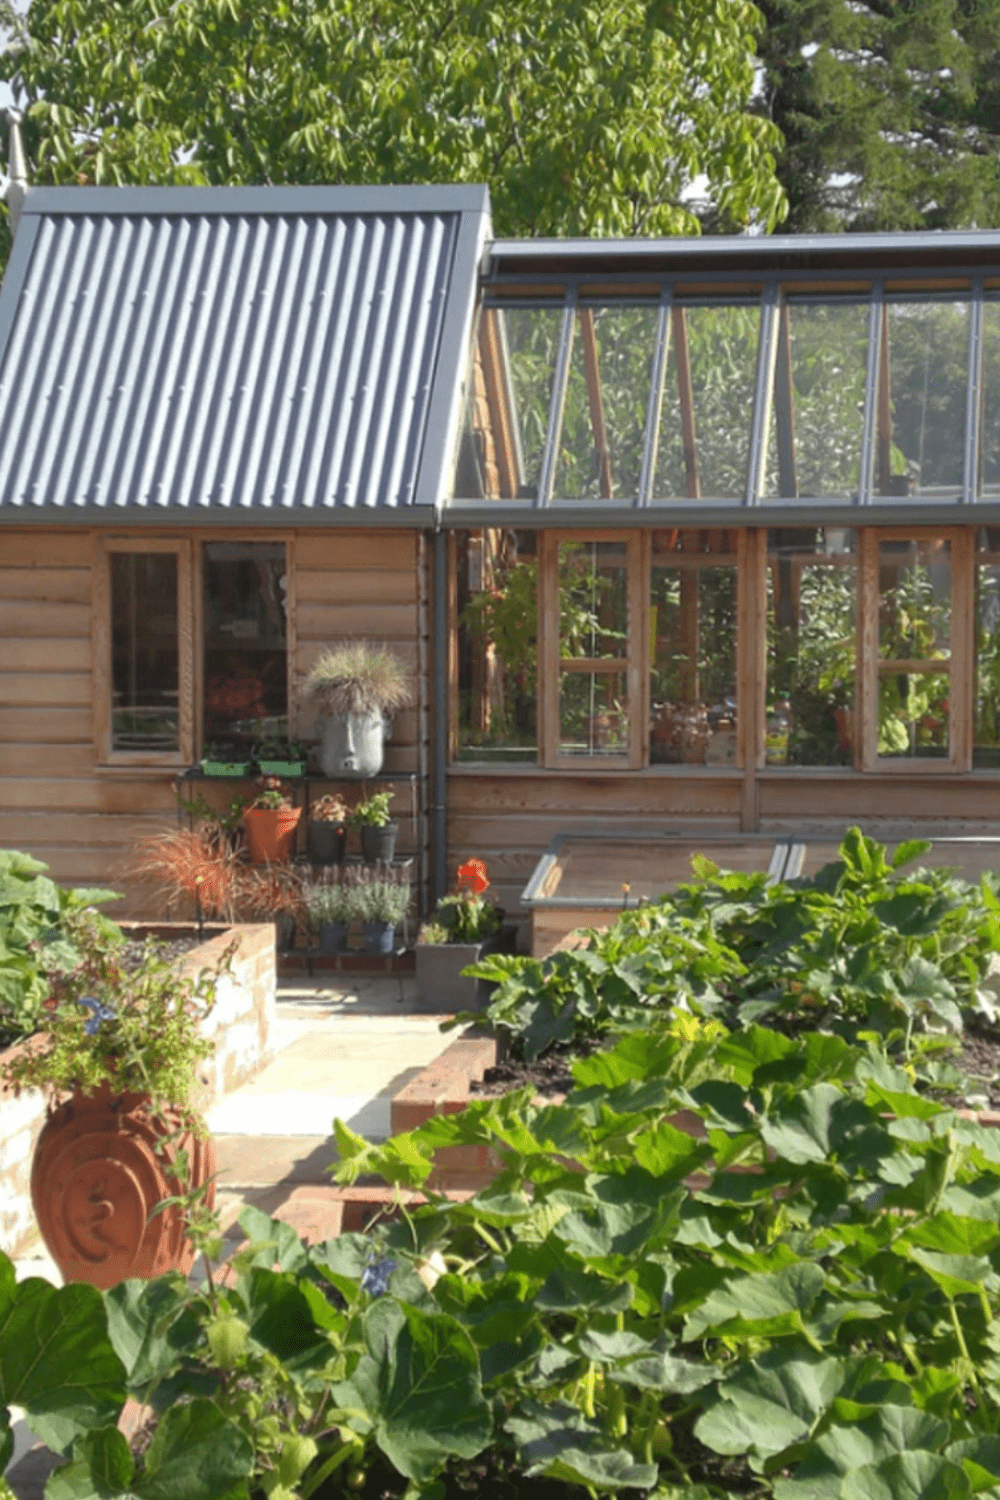
    Having a thriving vegetable garden requires careful consideration of many factors, including soil, water, sunlight, and nutrients. One of the most important elements of a successful garden is the fertilizer you choose. The right fertilizer can provide the necessary nutrients needed to help plants grow and produce a bountiful harvest. In this blog post, I share the best fertilizers as an expert gardener. We will explore the best fertilizer to use in a vegetable garden and discuss the benefits of each choice.

    Different Types of Fertilizers Vegetables

    Choosing the best fertilizer for a vegetable garden can be a daunting task. There are so many options available, it can be hard to know which one is best for your garden. Fortunately, a few types of fertilizer are well-suited to vegetable gardens.

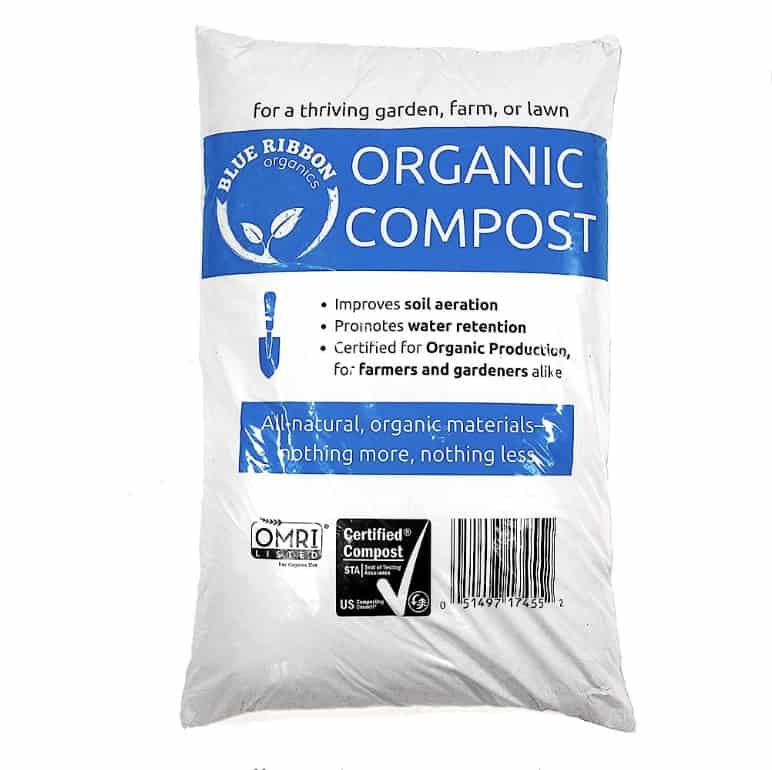
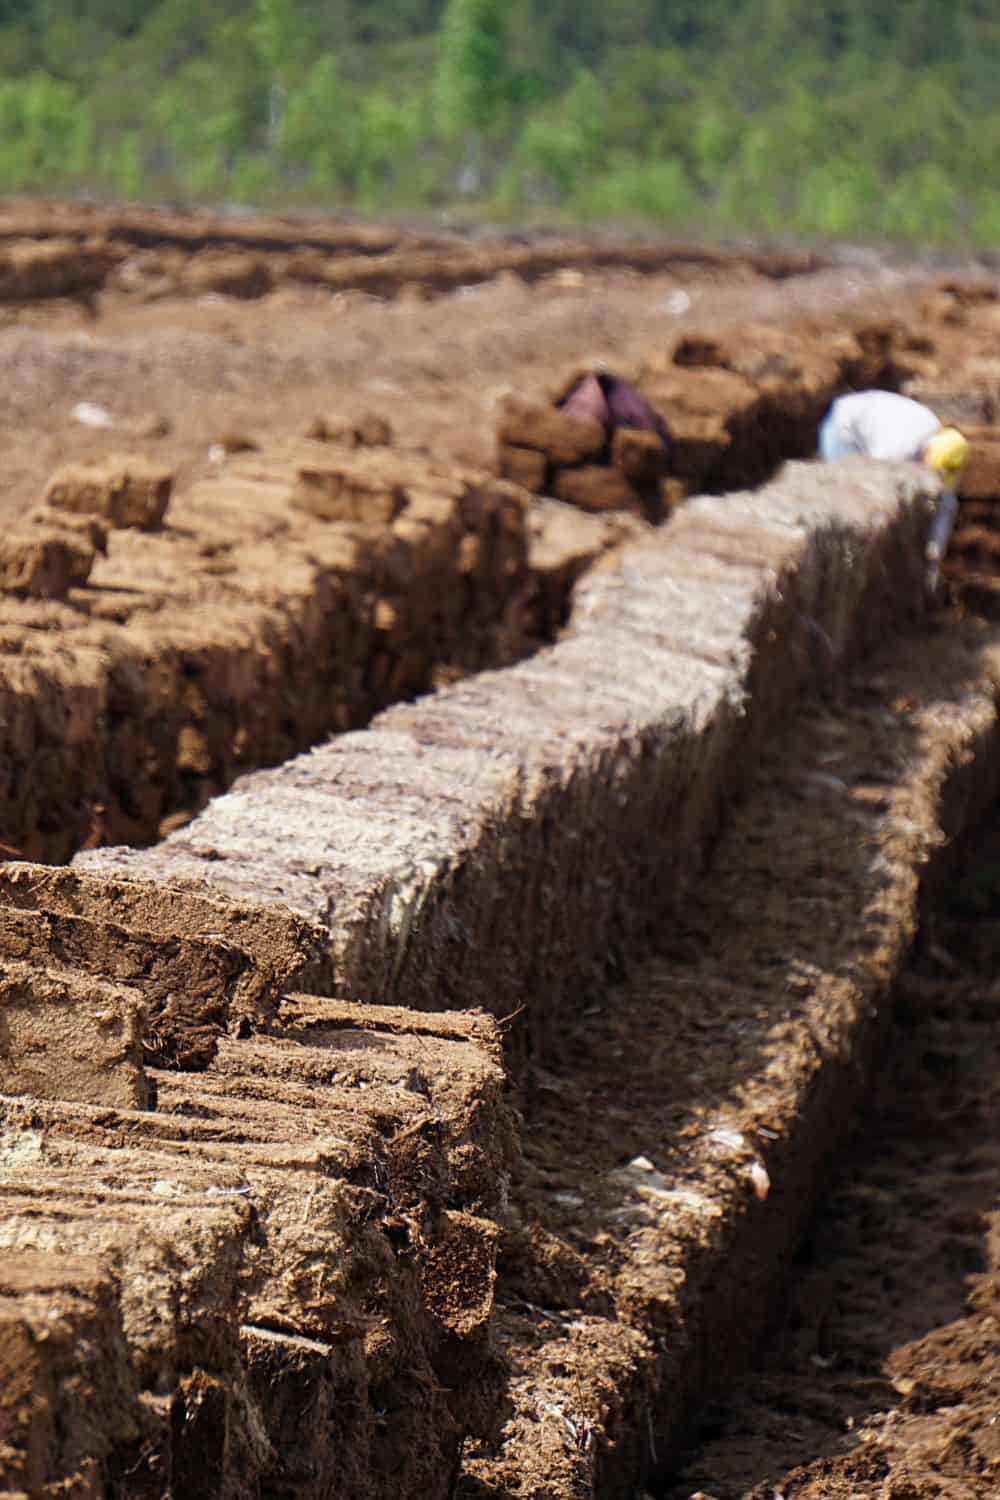
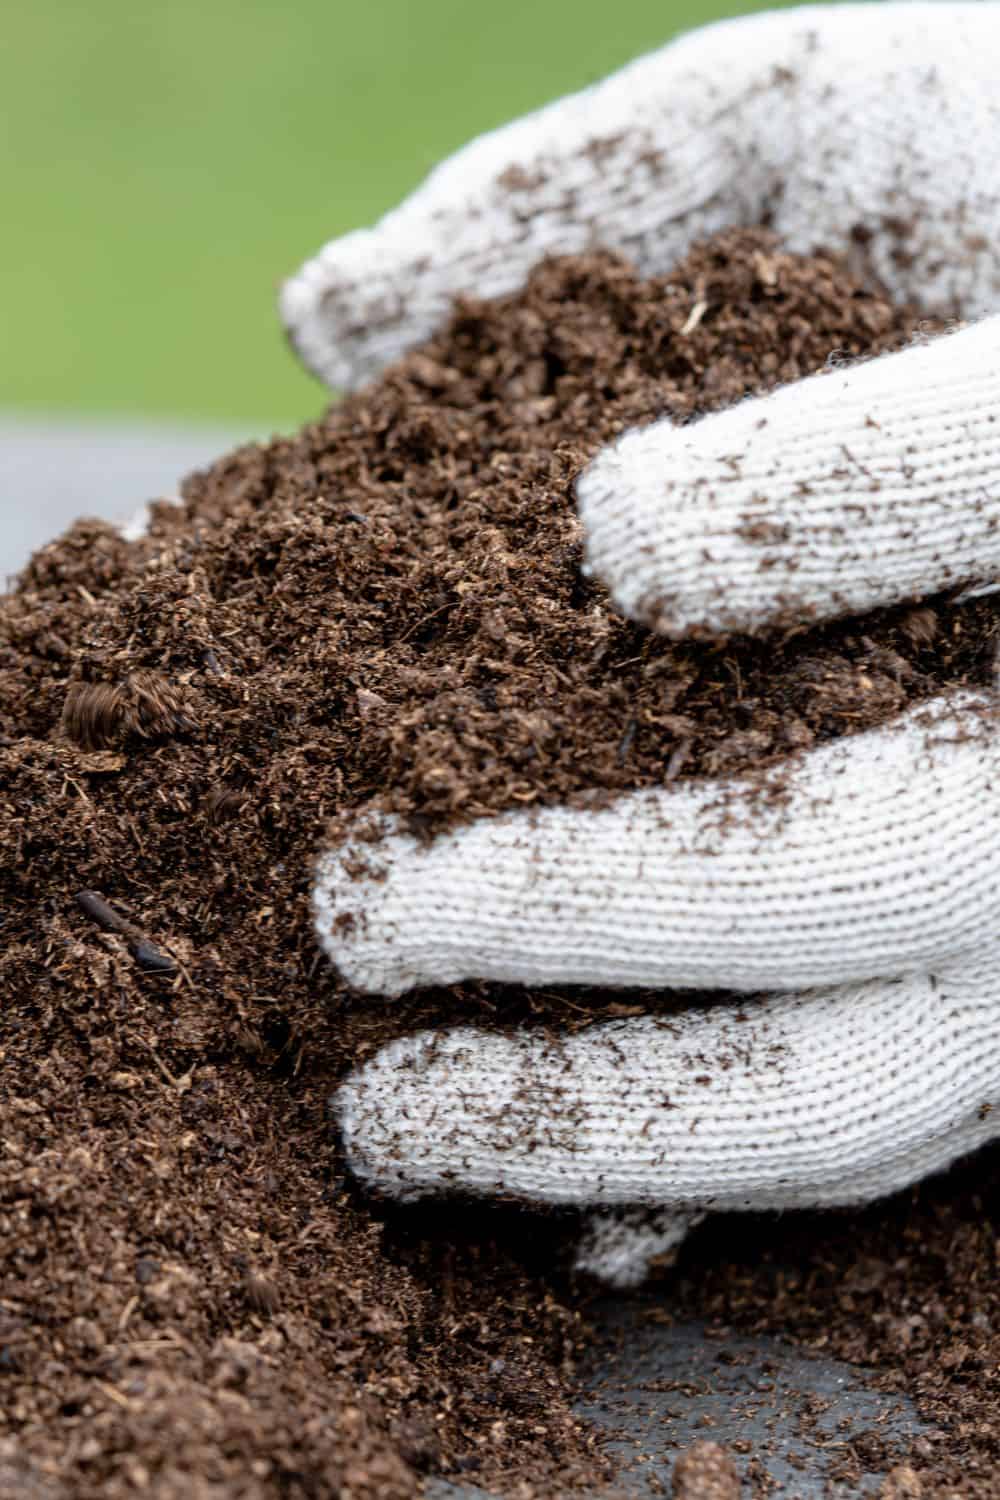
    Organic fertilizers like compost, manure, or bone meal are great for vegetable gardens. These are slow-release fertilizers that add beneficial nutrients to the soil and feed the beneficial organisms in the soil. They are also very affordable and easy to find.

    Though there are options to use synthetic fertilizers, which are highly concentrated, I suggest for the healthiest soil and environment, only use organic fertilizers as the best fertilizer for your vegetable garden.

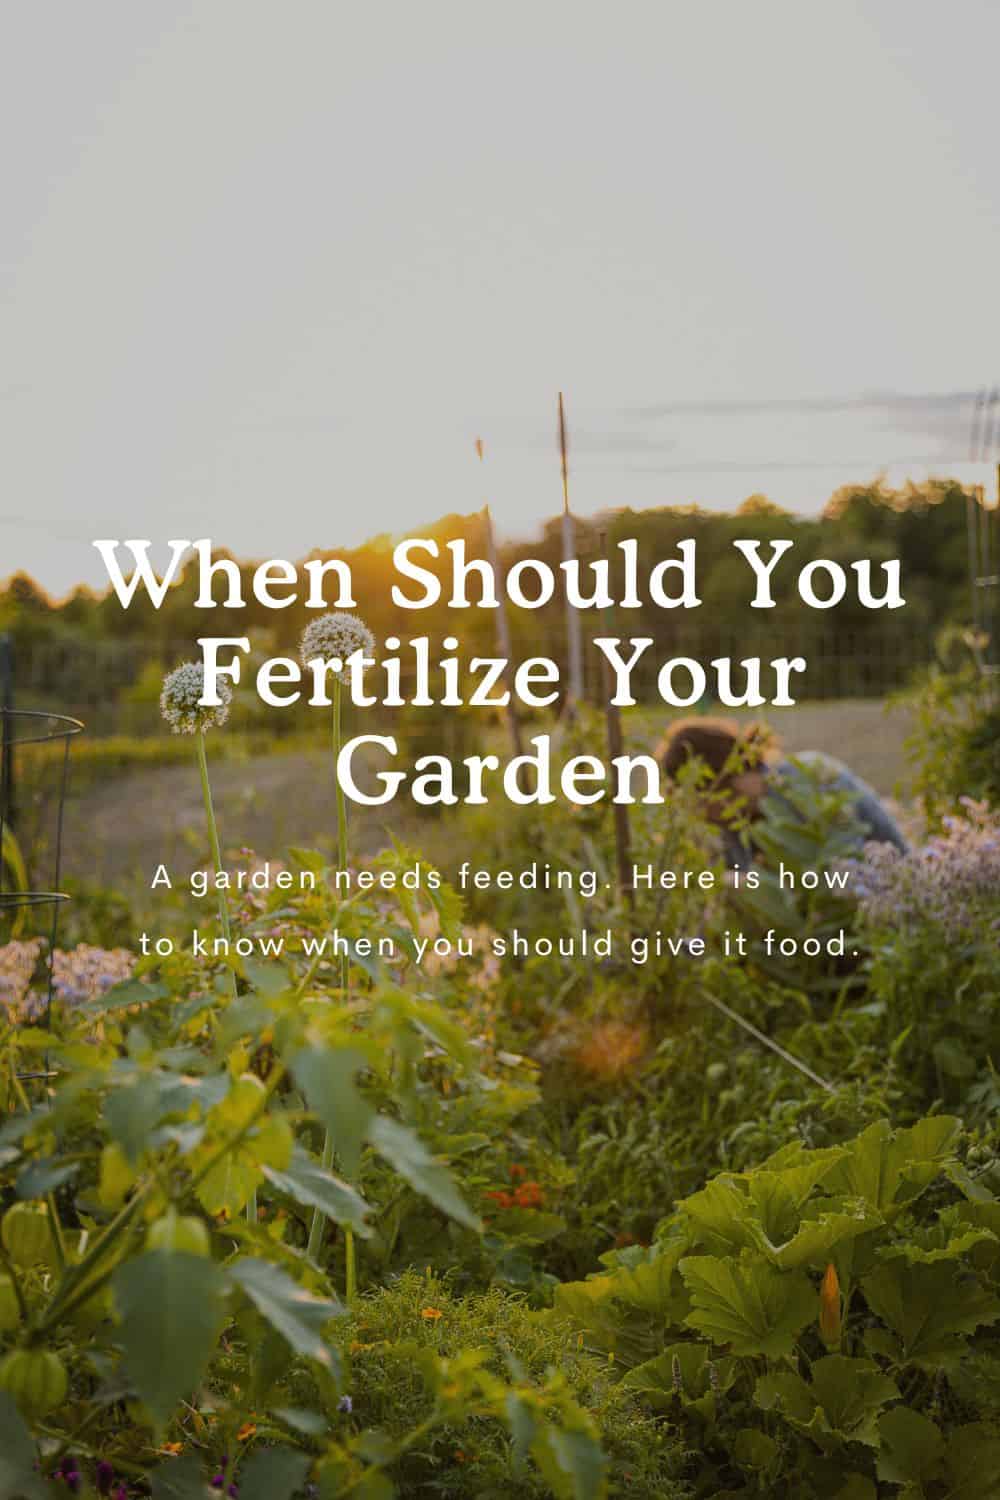
    Below you will find some great fertilizers to use and a list of the best fertilizers to use in your vegetable garden this year. If you are unsure when to fertilize your garden, I suggest starting with this post. 

    If you want to dig into fertilizing even more, you can take our courses on fertilizing and soil health. 

    To begin, here are some different types of naturally occurring fertilizers for feeding your plants the key macronutrients Nitrogen, Phosphorus, and Potassium:

    1. Compost

    Compost is a great choice for the vegetable garden, as it is an all-natural fertilizer. It is created by breaking down organic matter such as leaves, grass clippings, and kitchen scraps and is rich in nitrogen, phosphorus, and potassium, the essential nutrients for healthy plant growth. Compost also helps to improve the soil structure, increases water retention, and reduces the need for chemical fertilizers.

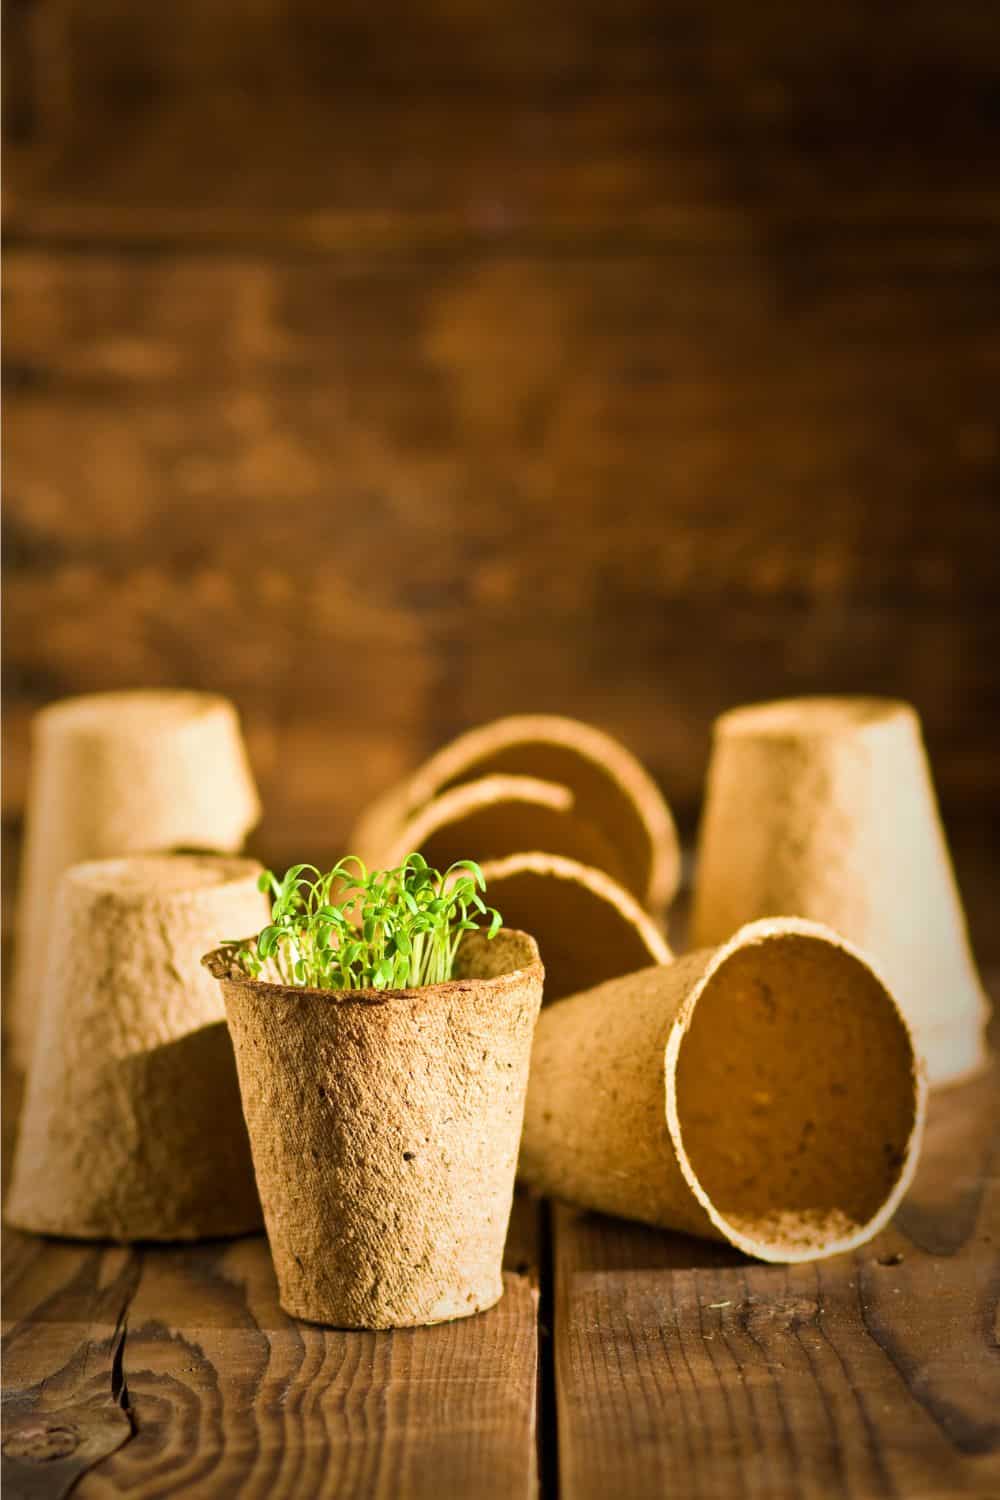
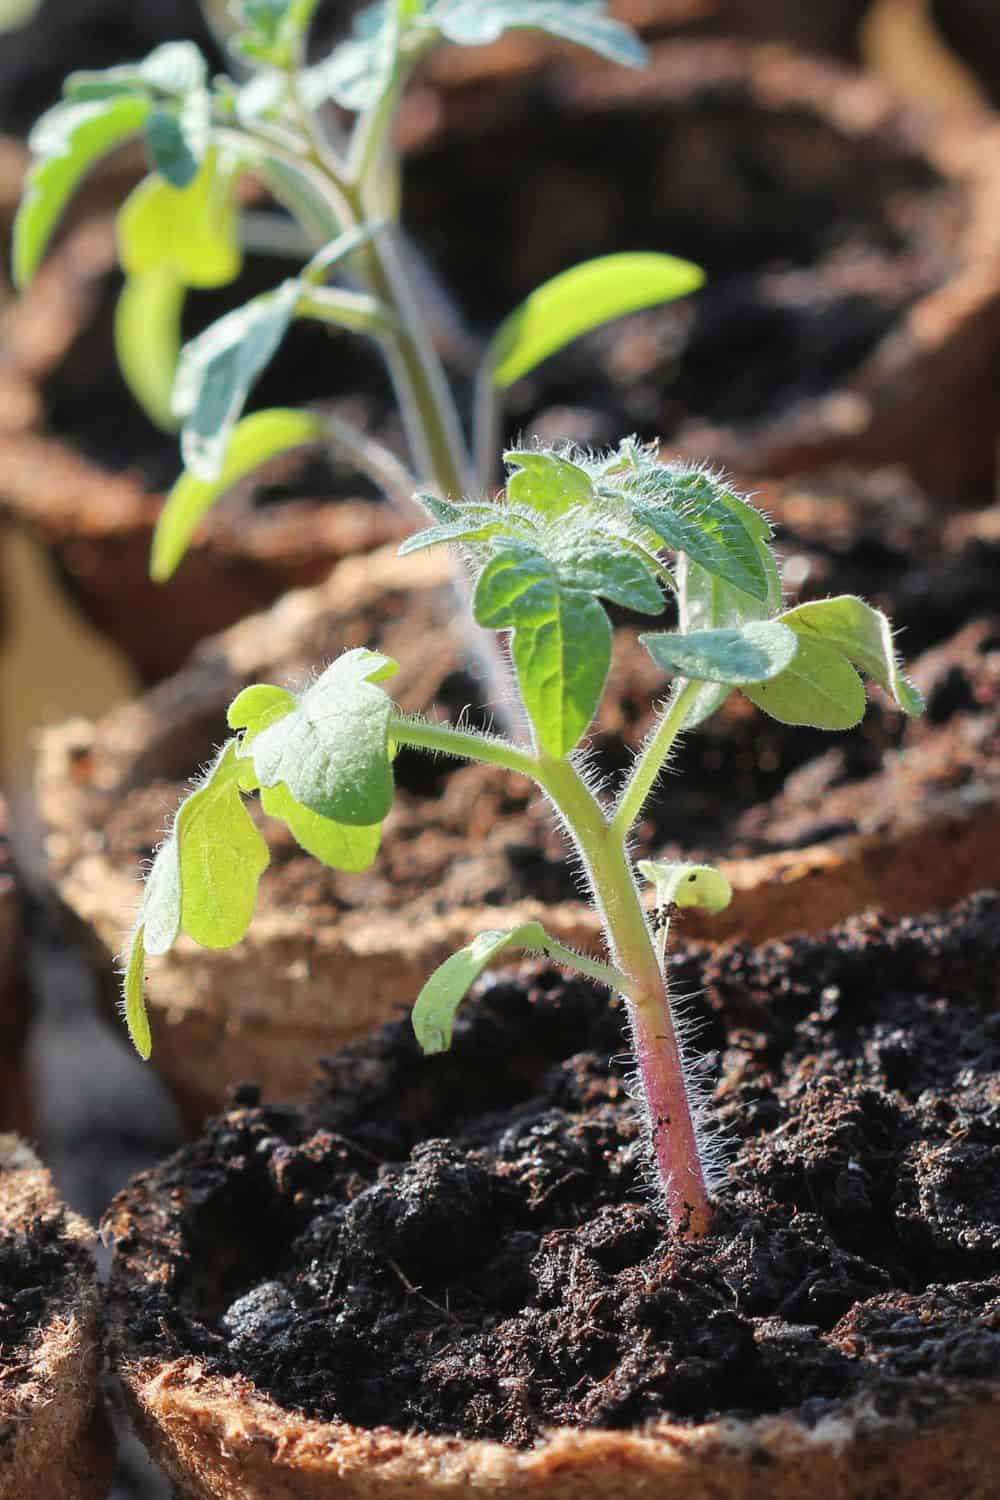
    Compost can be added to the soil before planting or used as a top dressing for existing plants, much like mulch. It is also great for suppressing disease and pest problems and can help to attract beneficial insects to the garden. Compost is a great choice for organic gardeners and is easy to make at home or purchase from a garden center. It helps your plants access important micronutrients they need in the soil and builds the microorganisms that help with root development and overall health, particularly when transplanting.

    For the best results, use compost in combination with other natural fertilizers such as manure or fish emulsion. This will ensure that your vegetable garden has all the essential nutrients it needs to thrive. With some planning and the right fertilizer, you can enjoy a healthy and abundant vegetable harvest.

    My favorite compost fertilizer is: Blue Ribbon Organicsbagged compost

    2. Manure

    Manure is a great option when looking for the best fertilizer to use in a vegetable garden. Manure is organic matter that is produced when animals break down organic materials in their digestive system. It is especially high in nitrogen, which is one of the most important nutrients for promoting healthy plant growth. Manure is relatively easy to find and usually inexpensive, making it a great choice for those on a budget. It also helps to improve soil structure and water retention, making it a great natural soil amendment.

    Using manure as a fertilizer for your vegetable garden is a great way to promote healthy growth. It is a natural source of nutrients that can help to replenish the soil and provide essential nutrients for your plants. It can also help to improve soil structure and water retention, allowing for better drainage and more efficient water use. Plus, it is relatively easy to find and inexpensive, making it an ideal choice for gardeners on a budget.

    Manure can be a great addition to any vegetable garden. It is a natural source of nitrogen that can help promote healthy plant growth and replenish the soil. It is also relatively easy to find and inexpensive, making it a great choice for gardeners on a budget. Plus, it helps to improve soil structure and water retention, allowing for better drainage.
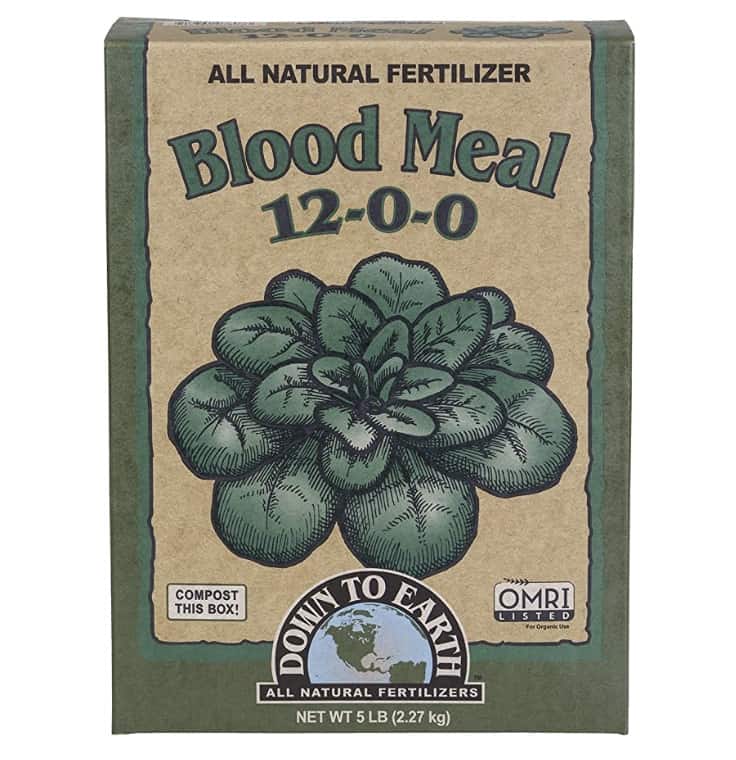
    My top choice for Manure fertilizing is: Granular Chicken Manure 

    3. Blood Meal

    Blood meal is an excellent choice for fertilizing vegetable gardens. It is a natural source of nitrogen that helps vegetables grow quickly and vigorously, resulting in better yields. Blood meal also helps to improve soil structure, encouraging strong root growth and helping to retain water. This makes it ideal for vegetable gardens, as it helps to ensure that the vegetables have all the nutrients they need for optimal growth.

    Blood meal is easy to use and can be applied directly to the soil or mixed in with compost or other organic matter. Remember that blood meal is a concentrated nitrogen source, so it should be used in moderation. Too much blood meal can result in an imbalance of nutrients in the soil, leading to stunted growth and poor yields.

    Overall, blood meal is an excellent fertilizer for vegetable gardens. It is a natural source of nitrogen that helps vegetables grow quickly and vigorously and helps to improve soil structure. It is easy to use and can be applied directly to the soil or mixed in with compost or other organic matter. Just remember to use it in moderation, as too much can lead to an imbalance of nutrients in the soil.
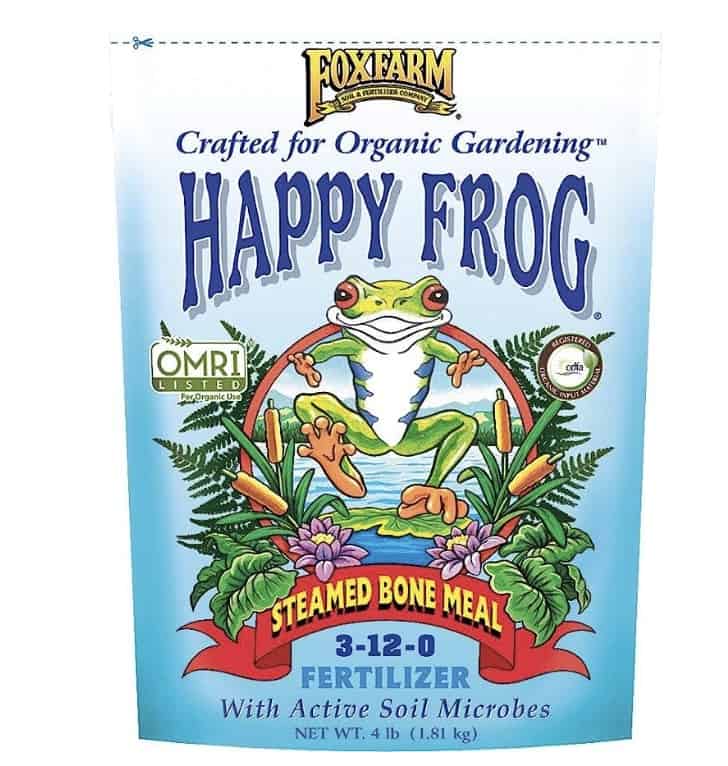
    My Top Pick for Blood Meal Fertilizer: Down To Earth Blood Meal

    4. Bone Meal

    When it comes to growing a healthy vegetable garden, choosing the right fertilizer is essential. Bone meal is one of the best options available for vegetable gardens, as it is a natural fertilizer made from ground animal bones. It is an excellent source of phosphorus, an essential nutrient for healthy plant growth. Bone meal is also slow-release so that it will provide a steady supply of nutrients to your plants over a long period of time. In addition, it helps to improve soil structure, making it an ideal choice for vegetable gardens. Another benefit of using bone meal is that it has a low salt content so that it won’t cause any harm to your vegetables. All in all, bone meal is an excellent fertilizer to use for vegetable gardens.
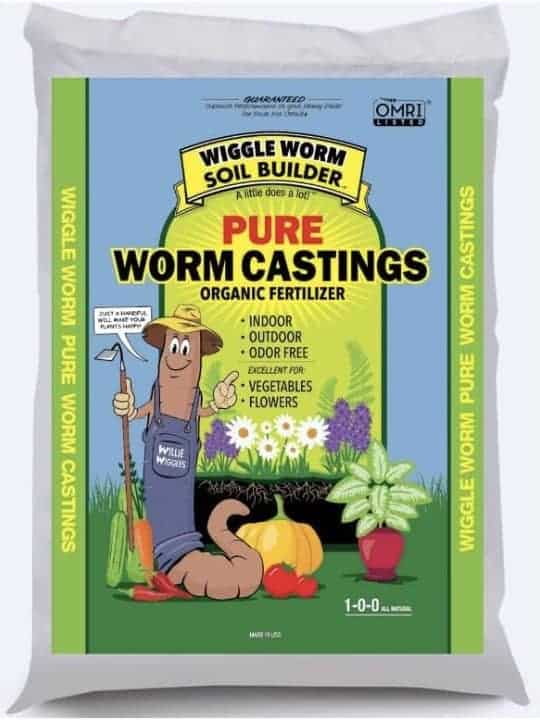
    My Top Pick for Bone Meal: Fox Farm Steamed Bone Meal

    Worm Castings

    Vegetable gardens can be a great source of food and nutrition. But in order to get the most out of your garden, you need to use the right fertilizer. One of the best options for fertilizing your vegetable garden is worm castings.

    Worm castings are made from the excrement of worms, which is packed with essential nutrients like nitrogen, phosphorus, and magnesium. These nutrients are essential for the growth and development of your plants. Worm castings also contain beneficial bacteria and fungi, which help to build up the soil and promote healthy plant growth.

    Worm castings are easy to use and can be applied directly to the soil or mixed with compost. They are a slow-release fertilizer, so they won’t burn the plants. They are also an excellent choice for organic gardening and are safe to use around pets and children.

    So if you’re looking for the best fertilizer for your vegetable garden, then consider using worm castings. They are an effective and safe way to give your plants the nutrients they need to thrive.

    My Top Pick for Worm Castings: Wiggle Worm Worm Castings

    What is the Best Fertilizer for a Vegetable Garden?

    Organic fertilizers are the best option for vegetable gardens because they are natural and will not harm the soil or plants. Compost is an excellent source of organic matter and nutrients and is a great option for fertilizing a vegetable garden. Manure from a farm or a store-bought bag is another excellent option for organic matter and nutrients for a vegetable garden. Blood meal and bone meal are two popular organic fertilizers for vegetable gardens because they provide nitrogen and phosphorus essential for vegetable growth. Fish emulsion is another organic fertilizer that is high in nitrogen and can be used as a liquid fertilizer. If you are looking for a balanced fertilizer such as 10-10-10 is a good option, below, you will see my top choices for all-purpose fertilizing of your vegetable garden. 

    Best Slow Release Vegetable Fertilizers

    A few options exist regarding the best fertilizer to use in a vegetable garden. Gardeners Organics Slow Release Vegetable Fertilizer is an excellent choice, as its natural formula contains all the essential nutrients for a healthy vegetable garden. Its slow-release formula ensures that your vegetables get the right amount of nutrients over time. But you will see I provide a few other fertilizers to ensure the micronutrients your plants need to be readily available to them when transplanting, seeding, or growing vegetables in your garden.

    No matter what type of fertilizer you use, it is important to read the directions on the package and follow them carefully. Different types of vegetables require different nutrients, so make sure to use the right fertilizer for the job. Additionally, ensure the fertilizer suits your area’s soil type and climate. With the right fertilizer, you can create a healthy and productive vegetable garden that will bring you years.

    These three fertilizers are my top picks for slow-release and granular feeding your vegetable garden. 


    Jobe’s Organic Granular Fertilizer


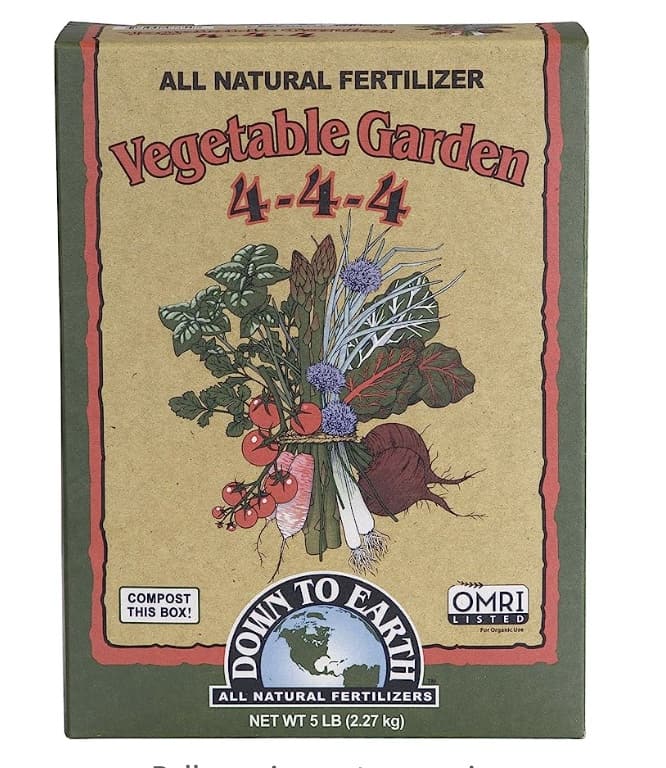
    Down to Earth Organic Vegetable Fertilizer


    Dr. Earth Vegetable and Tomato Organic Fertilizer

    Best Liquid Fertilizers for Veggies

    Fertilizing your vegetable garden is essential for healthy and abundant yields. But with so many options, knowing which is best for your garden can be hard. Here are some of the best fertilizers to use in your vegetable garden:

    Espoma Organic Vegetable Tone is an all-natural liquid fertilizer formulated to help grow bigger and healthier vegetables. It contains essential nutrients like nitrogen, phosphorus, potassium, and beneficial microbes to help promote healthy root growth.

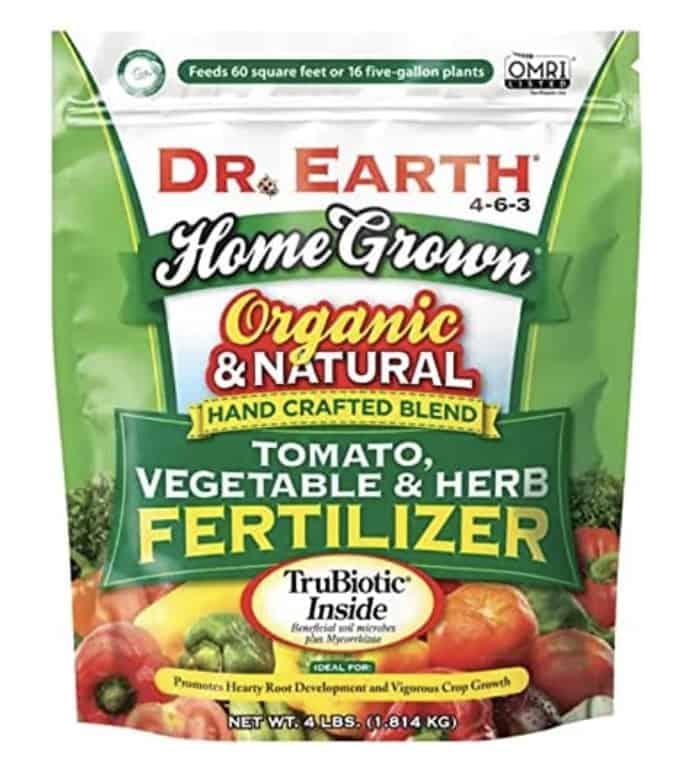
    Dr. Earth Organic 5 Tomato, Vegetable & Herb Fertilizer is a liquid fertilizer made with natural and organic ingredients that provide essential nutrients for growing vegetables, herbs, and tomatoes. It also contains beneficial microbes to help improve soil health.

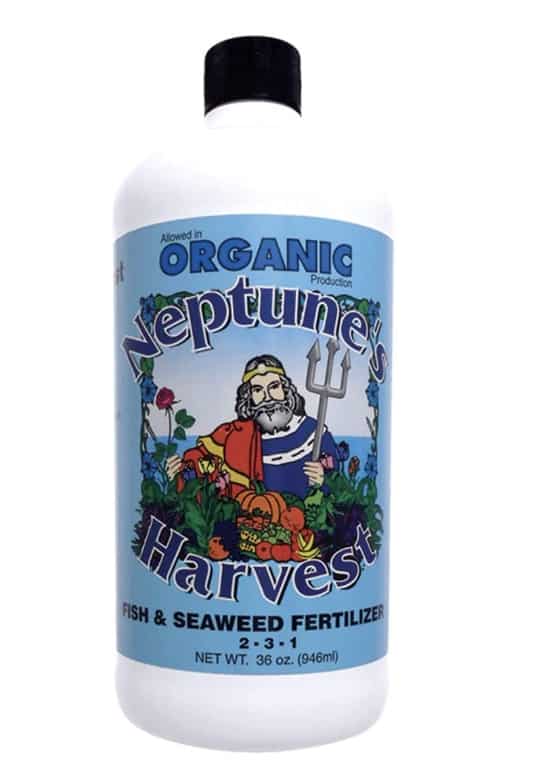
    Neptune’s Harvest Fish & Seaweed Fertilizer is a liquid fertilizer made from a blend of fish and seaweed. It provides essential nutrients for your vegetable garden and also contains beneficial microbes to help improve soil.

    Here are my top organic liquid fertilizers for your vegetable garden:

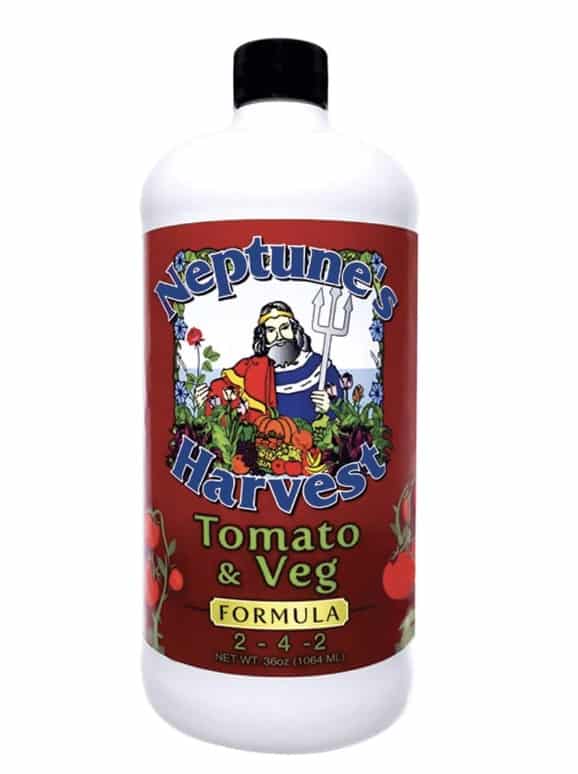
    Neptune’s Organic Tomato & Veg Fertilizer
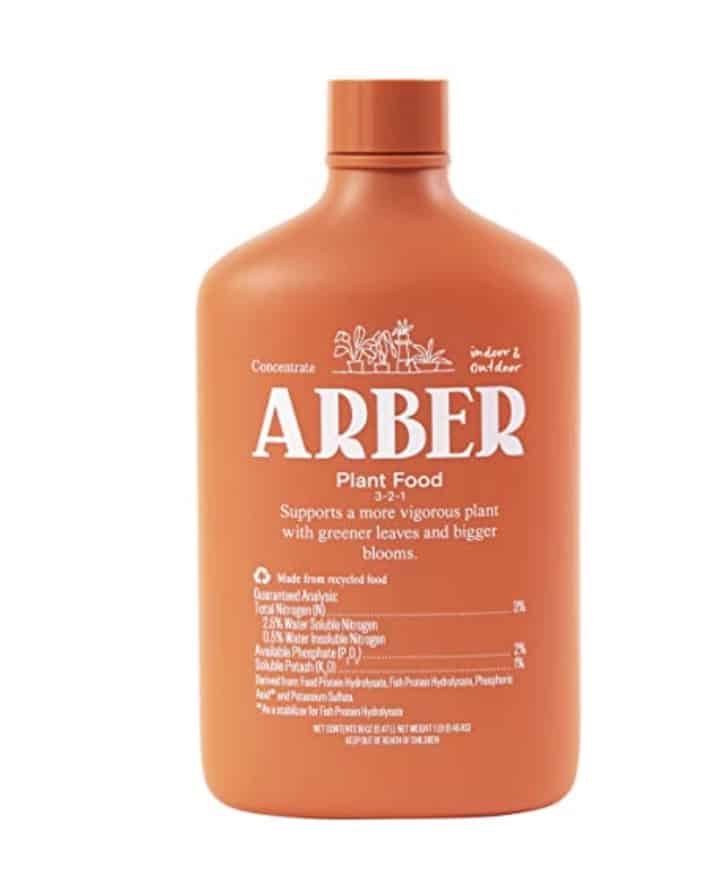
     

    Arber Plant Food

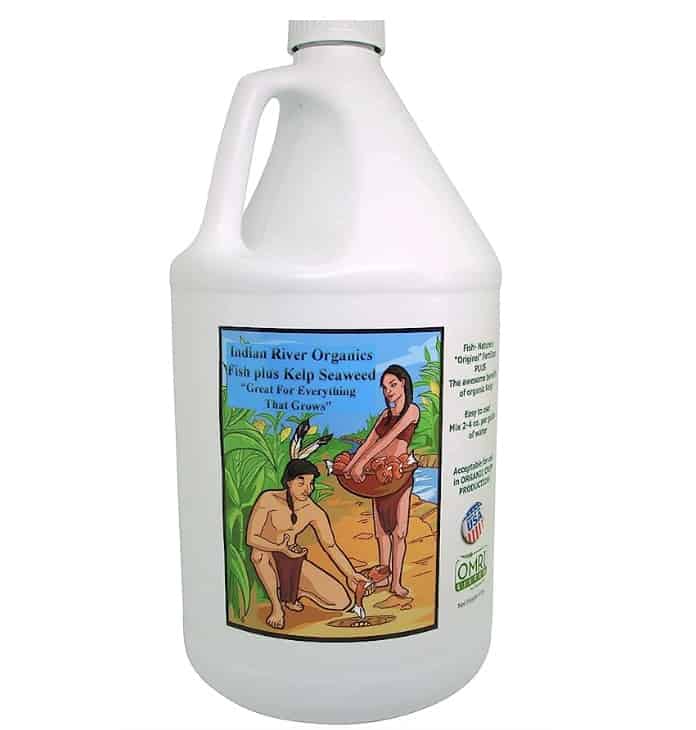
    Indian River Fish and Kelp Fertilizer


    My Top Choice Fertilizing Your Vegetable Garden in 2023

    Organic fertilizers are a great choice for vegetable gardens due to their long-term benefits. As the organic matter in the fertilizer breaks down, it releases nutrients into the soil. This helps to improve the fertility of the soil, resulting in healthier plants that are better able to resist disease and pests. Furthermore, organic fertilizers help to improve soil structure, resulting in better water and nutrient retention. This can help to reduce water waste and the need for regular fertilizing. In addition, organic fertilizers help to improve soil fertility without increasing the risk of burning your plants. These are a few of my favorite organic fertilizers for your vegetable garden this year.

    Over the years, my top choice is still Neptune’s Organic Fish and Seaweed Fertilizer used as a liquid concentrate. 

    woman walking through raised bed garden with marigolds

    Faqs

    Fertilizers are an essential part of helping a vegetable garden thrive. However, choosing the right fertilizer can be a challenge. The best fertilizer to use in a vegetable garden will depend on the soil type, the crops being grown, and the gardener’s preferences.

    Organic fertilizers such as compost, manure, and bone meal are often preferred over chemical fertilizers because they are more natural and provide a range of essential nutrients. Additionally, slow-release or granulated fertilizers can be helpful for providing long-term nutrition to the soil.

    When choosing a fertilizer for your vegetable garden, it is important to research the soil type, the plants you are growing, and the recommended fertilizer for the specific plants. Additionally, it is important to always follow the instructions on the fertilizer package for the best results.

    Organic fertilizers are a great choice for vegetable gardens, as they are natural and provide a range of essential nutrients to help make sure your veggies get the nutrition they need to be healthy and successful. Additionally, slow-release or granulated fertilizers can be helpful for providing long-term nutrition to the soil. With the right fertilizer, you can have a thriving vegetable garden.

    1. Can I Use Compost for Fertilizing My Vegetable Garden?

    Organic gardening is becoming increasingly popular, and many gardeners seek the best fertilizer in their vegetable gardens. Compost is one of the best options, but the compost’s quality must be considered. Compost is a great source of organic matter and can provide essential nutrients for vegetables. To ensure that your compost is suitable for fertilizing your vegetable garden, it should be well-rotted, dark in color, and have a pleasant, earthy smell. Compost should be added to the soil in small amounts to ensure that it is not too rich or acidic for the vegetables. In addition to compost, you can also supplement your vegetable garden with other organic fertilizers, such as seaweed extract or fish emulsion, for added nutrients. These fertilizers will provide additional vegetable nutrition and help ensure your garden is healthy and productive.

    2. What Types of Fertilizers Can I Use to Maximize Growth In My Vegetable Garden?

    When it comes to fertilizing your vegetable garden, it can be a difficult choice to make. What is the best fertilizer to use? Compost, fish emulsion, manure, and organic fertilizers are all great options for fertilizing your vegetable garden and ensuring healthy growth.

    Compost is a natural, organic fertilizer that can be made from kitchen scraps, yard waste, and other organic materials. It is rich in nutrients and beneficial bacteria and fungi, which can help maximize growth in your vegetable garden. Fish emulsion is a natural fertilizer made from fish parts and is a great source of nitrogen, potassium, and phosphorus. It can help to promote strong root growth and increase the nutrient content of your soil. Manure is a great source of organic matter and can help improve your soil’s texture. It’s also full of beneficial bacteria and fungi, which can help your plants to grow and thrive. Organic fertilizers, such as plant-based meal and bone meal, are a great way to add nutrients to your soil. They are slow-release, so they won’t burn your plants and are a great source of essential nutrients.

    When choosing the best fertilizer for your vegetable garden, it is important to consider the specific needs of your plants. Different plants require different nutrient levels,

    3. How Often Should I Apply Fertilizer to My Vegetable Garden?

    Fertilizers are an essential part of any vegetable garden. Without the right type of fertilizer, your vegetable garden could suffer from nutrient deficiencies and stunted growth. When deciding the best fertilizer for your vegetable garden, consider the size of your garden and the type of fertilizer you plan to use. Generally, a slow-release fertilizer should be applied every two to three months during the growing season, while a liquid fertilizer should be applied weekly. Be sure to read the instructions on the fertilizer package to determine the correct application rate for your garden. This will ensure that you are using the right amount of fertilizer for the size of your garden.

    Using the right fertilizer for your vegetable garden will help your plants grow healthy and strong. It can also help your plants resist disease and pests. You can look forward to a healthy and bountiful harvest with the right fertilizer. Always follow the instructions on the fertilizer package to determine the best application rate for your garden. By doing so, you can ensure your vegetable garden gets the nutrients it needs to thrive.

    4. How Can I Determine Which Type of Fertilizer is Best for My Vegetable Garden?

    Growing a vegetable garden is a rewarding experience that can provide you with fresh, flavorful produce. Choosing the right fertilizer is important to get the best results from your garden. Here are a few tips for choosing the best fertilizer for your vegetable garden.

    First, consider the vegetable varieties you plan to grow. Different vegetables have different fertilizer requirements, so make sure you choose a suitable fertilizer for the plants you are growing.

    When selecting a fertilizer for your vegetable garden, look for one that is specifically designed for veggies. It should contain a balanced mix of nitrogen, phosphorous, and potassium. You can also opt for a more sustainable organic fertilizer made from natural materials than synthetic fertilizers.

    When shopping for fertilizer, read the label carefully. Make sure to look for information about application rates, nutrient content, and other important details. With the right fertilizer and some careful planning, you can help ensure your vegetable garden is a success.


    In conclusion, the best fertilizer to use in a vegetable garden will depend on the soil type, climate, and the vegetables being grown. An organic fertilizer will generally be the best choice, as it will not introduce any chemicals or pollutants into the environment. Additionally, it will enrich the soil with essential nutrients that will give your vegetables a healthy, vibrant growth. However, if organic fertilizers are not available, a synthetic fertilizer can be used, but should be used with caution. As always, it is important to do your research and read the directions before applying any fertilizer to your vegetable garden.


    If this information was helpful, you can check out the following posts to learn more:

    You can also learn more about fertilizing through our course offerings, email newsletter, Instagram, and of course the podcast

  • When To Fertilize Your Vegetable Garden?

    When To Fertilize Your Vegetable Garden?

    type about fertilizing over image of woman gardening 

    Having a thriving vegetable garden requires more than just planting seeds and providing water and sunlight. A healthy and thriving garden also needs to be fed. Fertilizers supply essential nutrients to vegetable plants, ensuring their healthy growth and bountiful harvest. In fact, using organic and nature-derived fertilizers is the best and easiest way to maintain a healthy garden, along with consistent compost application. 

    In this blog post, we will cover the topic of when to fertilize your vegetable garden and explore the factors influencing fertilization timing. Learning the varying aspects of feeding your garden will help your garden thrive this year. So, let’s dig deeper and discover the best strategies for timing your fertilizer to achieve a flourishing vegetable garden.

    peas growing up trellis in garden

    What is Organic Fertilizer?

    Organic fertilizing is a natural way to feed plants without using chemicals. Instead of artificial substances, organic fertilizers are made from things like compost, manure, and fish emulsion. These materials break down slowly over time, releasing nutrients into the soil that plants need to grow. Organic fertilizers provide plants with essential nutrients without adding chemically derived nutrients into the soil. These fertilizers feed the natural microbes in the soil more holistically. Using organic fertilizers, we can take care of our plants while being kind to the environment. It’s a way of gardening that promotes healthy plants, healthier soil, and a balanced ecosystem.

    woman holding purple carrots with a chambray shirt on

    Why Do You Need to Fertilize?

    Vegetable plants have specific nutrient requirements to grow and produce a plentiful harvest. You can provide the necessary nutrients to support their optimal growth by understanding these needs. The essential nutrients for vegetable plants include nitrogen (N), phosphorus (P), and potassium (K), as well as secondary nutrients like calcium, magnesium, and sulfur. Each nutrient plays a unique role in plant development, such as nitrogen for leafy growth, phosphorus for root development and flower production, and potassium for overall plant health and disease resistance.

    Additionally, understanding the different nutrient needs of various vegetables is crucial. Some plants may have higher nitrogen requirements, while others may need more phosphorus or potassium. Researching the specific nutrient preferences of the vegetables you are growing will help you tailor your fertilization practices accordingly. For instance, tomatoes have a higher nutrient demand than, say, lettuce or radishes will. 

    By gaining a solid understanding of vegetable nutrient needs, you can make informed decisions when selecting fertilizers and adjust their application rates based on the specific requirements of your plants. Providing the right nutrients at the right time will promote vigorous growth, increase resistance to pests and diseases, and ultimately lead to a successful vegetable garden.

    woman in garden looking at plants wearing a white shirt

    What Should You Use for Feeding Your Plants?

    When looking to fertilize your plants, I suggest using an all-purpose fertilizer unless your plants indicate they need something more specific. Say if your tomatoes are struggling to produce flowers, or if they are not looking green in their leaves. Those are signs of needing something more specific. For the best fertilizer for tomatoes, these are my top picks. 

    This all-purpose veggie fertilizer from Neptune’s Organic is still my favorite. It is easy to apply, and it is good for the planet. You can also make your own compost tea and also have a great all-around fertilizer for your vegetable garden this summer. 

    buff chicken wandering in the garden

    When Should You Fertilize Your Garden?

    Proper timing of fertilizer applications is essential for ensuring that your vegetable plants receive the nutrients they need at the right stages of their growth. Here are some guidelines for determining the right time to fertilize your vegetable garden:

    • Pre-Planting Preparation: Before planting, preparing the soil is important to create a favorable environment for your vegetables. This is the ideal time to incorporate organic matter, such as compost or well-rotted manure, into the soil. These organic materials improve soil structure, enhance moisture retention, and slowly release nutrients over time. You can also consider adding slow-release fertilizers during soil preparation to provide a steady supply of nutrients as the plants grow.
    • Early Growth Stage: Once your vegetable seeds have germinated, or transplants have been established, they will enter the early growth stage. At this point, a light application of a balanced fertilizer or organic solution can help provide the necessary nutrients for healthy root development and overall plant growth. Follow the package instructions for the appropriate dosage and apply the fertilizer evenly around the plants, avoiding direct contact with the foliage.
    • Mid to Late Growth Stage: As your vegetable plants continue to grow and produce foliage, they will have increased nutrient requirements. Regular fertilization during this stage becomes crucial to ensure continuous nutrient supply. Consider using a balanced fertilizer or organic alternatives, following the recommended application rates for your specific vegetable crops. Splitting the fertilizer applications into multiple doses throughout the growing season can be beneficial, especially for long-duration crops.
    • Pre-Bloom and Fruit Set: In the period leading up to flowering and fruiting, your vegetable plants will have specific nutrient demands. Providing adequate nutrients at this stage is vital for successful pollination, fruit set, and development. Fertilizers with a higher phosphorus content can be beneficial during this time, as phosphorus supports flower and fruit formation. Be mindful of the recommended application rates and avoid over-fertilization, as excessive nutrients can lead to imbalances or damage to the plants.

    Monitoring your plants’ growth and observing any signs of nutrient deficiency, such as yellowing leaves or stunted growth, can also help determine when additional fertilization is needed. Remember always to follow the instructions provided on the fertilizer packaging and make adjustments based on your specific vegetable garden’s requirements. With proper timing and nutrient management, you can give your vegetable plants the optimal nutrition they need to thrive and produce a bountiful harvest.

    garden with marigolds and onion flower in summer sun

    How to Apply Fertilizer To Your Garden Organically

    Properly applying fertilizer is essential to ensure that your vegetable plants receive the nutrients they need for healthy growth. Here are some key techniques and tips for applying fertilizer effectively:

    1. Read and Follow Instructions: Before applying any fertilizer, carefully read the instructions provided on the packaging. Pay attention to the recommended application rates, timing, and specific instructions for your fertilizer product. Following these guidelines will help prevent over- or under-fertilization.
    2. Consider Soil Incorporation or Top Dressing: There are two main methods for applying fertilizer: soil incorporation and top dressing. Soil incorporation involves mixing the fertilizer into the soil before planting or during soil preparation. This ensures that the nutrients are evenly distributed in the root zone. Conversely, top dressing entails applying fertilizer on the soil surface around the plants during the growing season. This method is useful for side-dressing or applying additional nutrients as needed.
    3. Apply Fertilizer Evenly: Whether you choose soil incorporation or top dressing, applying the fertilizer evenly is important to prevent nutrient imbalances. Mix the fertilizer thoroughly with the soil to distribute the nutrients uniformly for soil incorporation. When top dressing, spread the fertilizer in a thin, even layer around the base of the plants. Avoid piling the fertilizer in one spot, as it may cause a nutrient burn or uneven growth.
    4. Avoid Direct Contact with Plant Stems and Foliage: When applying fertilizer, be careful to avoid direct contact with the stems and foliage of your vegetable plants. Fertilizers in direct contact with plant tissues can cause leaf burn or other damage. Keep a distance of a few inches from the plant’s base when top dressing, or gently incorporate the fertilizer into the soil, ensuring it doesn’t come into direct contact with the plant parts.
    5. Water After Application: After applying fertilizer, water your vegetable garden thoroughly. This helps to dissolve and distribute the nutrients into the soil, making them available for plant uptake. Watering also prevents fertilizer burn and helps prevent the nutrients from being washed away by heavy rainfall or irrigation.
    6. Consider Split Applications: For prolonged growing seasons or crops with high nutrient demands, consider splitting the fertilizer application into multiple doses. This approach provides a steady supply of nutrients throughout the growing season, ensuring your plants receive the necessary nourishment at different stages of growth. Follow the recommended application frequency for your specific fertilizer and crop.

    Applying fertilizer following these techniques and tips ensures that your vegetable plants receive the right nutrients at the right time. Remember to adjust your fertilization practices based on the specific needs of your crops and monitor your plants’ response to fertilization to make any necessary adjustments. Your vegetable garden will thrive and produce a bountiful harvest with proper application.

    white light sunflowers growing together

    Tips and Ticks To Consider For Fertilizing Effectively

    Proper application of fertilizers is crucial to ensure effective nutrient uptake by your vegetable plants. Here are some essential techniques and tips to consider when applying fertilizers:

    • Soil Incorporation vs. Top Dressing: Two common methods of fertilizer application are soil incorporation and top dressing. Soil incorporation involves mixing the fertilizer into the soil before planting or during soil preparation. This method ensures that the nutrients are evenly distributed throughout the root zone. Top dressing, on the other hand, involves applying fertilizer on the soil surface around the plants. This technique is useful for side-dressing during the growing season. The choice between these methods depends on the specific fertilizer type, crop, and growth stage. Follow the recommended guidelines for each fertilizer and adjust the application technique accordingly.
    • Choosing the Right Fertilizer: Selecting the appropriate fertilizer for your vegetable garden is crucial for meeting the specific nutrient requirements of your plants. There are various types of fertilizers available, including organic and synthetic options. Organic fertilizers are derived from natural sources and slowly release nutrients over time. They improve soil health and fertility in the long run. On the other hand, synthetic fertilizers offer a quick release of nutrients and can be formulated to address specific nutrient deficiencies. Consider the nutrient needs of your vegetables and choose a fertilizer with the appropriate nutrient ratios and release rates.
    • Dosage and Application Frequency: Following the recommended dosage and application frequency is vital to avoid under or over-fertilization. Different fertilizers have specific application rates, usually provided on the packaging. Take care not to exceed the recommended rates, as excessive fertilization can lead to nutrient imbalances or burn the plants. Splitting the total fertilizer amount into multiple applications throughout the growing season is often beneficial. This ensures a steady supply of nutrients and reduces the risk of nutrient leaching.
    • Considerations for Organic Gardeners: If you practice organic gardening, there are additional considerations to keep in mind. Organic fertilizers, such as compost, manure, or fish emulsion, are commonly used in organic gardening practices. These materials improve soil structure, promote beneficial microorganisms, and provide a slow release of nutrients. It’s important to choose organic fertilizers that are certified for organic use and follow the recommended application rates. Organic gardening also involves focusing on soil health, incorporating organic matter regularly, and utilizing natural pest control methods.

    By employing appropriate fertilizer application techniques and following these tips, you can ensure that your vegetable plants receive the right amount of nutrients for healthy growth and optimal yields. Remember to adapt these techniques based on your specific crops and their growth stages. Regular monitoring of your plants’ response to fertilization will help you make any necessary adjustments to achieve the best results.


    Learn more about fertilizing by taking the Fertilizing 101 Course and get a complimentary 3-month membership to our community of gardeners like you! 

    Other posts you may enjoy:

  • How to Grow Basil – Planting and Care Tips

    How to Grow Basil – Planting and Care Tips

    How to Grow Basil text over image of basil

    Growing your own basil can be a rewarding and flavorful experience. This versatile herb adds a touch of greenery and natural beauty to your space while providing a ready supply of fresh leaves for your favorite recipes. Basil also provides many benefits to your garden as a companion plant for deterring bugs. It grows well with tomatoes in a companion planting method. I love growing basil of all types, and it isn’t too hard, but there are some key things to know to have success. Learn more about different basil varieties and care in this post about my favorite basil varieties

    In this blog post, we’ll explore the essential steps for successfully nurturing basil, from selecting the right variety to harvesting and storing your bountiful harvest. Let’s learn how to grow basil and enjoy the benefits of having this fragrant herb at your fingertips.

    basil flowering

    Choosing the Right Basil Variety

    Basil comes in various varieties, each with its own unique characteristics and flavors. When selecting a basil variety to grow, consider factors such as your preferred taste profile, growing conditions, and intended use. Here are some key points to keep in mind:

    1. Popular Basil Varieties:
      • Genovese Basil: This classic variety is known for its robust and sweet flavor, making it perfect for traditional Italian dishes and pesto.
      • Thai Basil: With its distinctive anise-like flavor, Thai basil is a staple in Southeast Asian cuisine, adding a delightful kick to curries and stir-fries.
      • Lemon Basil: As the name suggests, this variety offers a refreshing citrusy aroma and flavor, making it an excellent addition to salads, seafood, and desserts.
      • Purple Basil: This visually striking variety features deep purple leaves and a slightly spicy taste, adding an attractive touch to dishes and garnishes.
      • Cinnamon Basil: Known for its warm and spicy fragrance, cinnamon basil is a great choice for infusing desserts, teas, and even cocktails.
    2. Considerations for Indoor or Outdoor Cultivation:
      • If you have limited outdoor space or live in a colder climate, consider growing basil indoors in pots or containers near a sunny window.
      • For outdoor cultivation, ensure that your chosen basil variety is suitable for your local climate, taking into account factors like temperature, sunlight, and humidity requirements.
    3. Factors to Consider When Selecting Seeds or Seedlings:
      • When starting basil from seeds, opt for high-quality seeds from reputable sources to increase the chances of successful germination.
      • If you prefer a head start or are new to gardening, consider purchasing young basil seedlings from a nursery or garden center.

    By selecting the right basil variety, you can ensure a more enjoyable and tailored growing experience. Choose flavors and characteristics that align with your culinary preferences and growing environment to set yourself up for success in growing thriving basil plants.

    basil leaves

    Creating the Ideal Growing Environment

    To ensure the successful growth of basil plants, creating an environment that caters to their specific needs is essential. Here are key factors to consider for an ideal basil-growing environment:

    1. Sunlight Requirements: Basil is a sun-loving herb that thrives in full sunlight. Ensure your basil plants receive at least 6-8 hours of direct sunlight each day. Place them in a location that receives ample sunlight, such as a south-facing window or a spot in your garden with maximum sun exposure. Insufficient sunlight can result in weak and leggy plants.
    2. Temperature and Humidity: Basil prefers warm temperatures, ideally between 70-90°F (21-32°C). It is sensitive to cold temperatures, so avoid exposing the plants to chilly drafts or frost. If growing basil outdoors, wait until all chances of frost have passed before transplanting.Basil also appreciates slightly humid conditions. You can increase humidity levels by misting the leaves with water or placing a tray of water near the plants. However, avoid overwatering, as excessive moisture can lead to fungal diseases.
    3. Soil Quality and Drainage: Basil thrives in well-draining soil that retains moisture without becoming waterlogged. Choose a high-quality potting mix that is light, well-aerated, and rich in organic matter. The soil pH should be slightly acidic to neutral, ranging from 6.0 to 7.5.Ensure that the pots or containers you use have drainage holes to prevent water from pooling at the bottom. Adequate drainage helps prevent root rot and other issues caused by waterlogged soil.
    4. Airflow and Spacing: Good airflow is crucial for basil plants as it helps prevent the development of fungal diseases. Avoid overcrowding the plants indoors or outdoors, as proper spacing allows for better air circulation. Indoors, you can use fans to promote airflow around the plants.Outdoor planting beds should have sufficient space between basil plants to allow air to circulate freely. Typically, spacing basil plants 8-12 inches apart is recommended, but this may vary slightly depending on the specific variety.

    By providing the ideal growing environment with ample sunlight, appropriate temperatures, well-draining soil, and proper airflow, you set the stage for healthy basil growth. These factors ensure that your basil plants receive the necessary conditions to flourish and produce abundant leaves for your culinary endeavors.

    How to Seed and Transplant Basil

    Growing basil from seeds or transplanting seedlings is a rewarding way to start your basil garden. Here are the steps for seeding and transplanting basil:

    Seeding Basil: 

      1. Begin by selecting high-quality basil seeds from a reputable source.
      2. Fill a seed tray or small pots with a well-draining seed-starting mix.
      3. Sow the basil seeds on the surface of the soil, gently pressing them down. Space the seeds about 1/4 to 1/2 inch apart.
      4. Lightly cover the seeds with a thin layer of soil or vermiculite, ensuring they are still exposed to light.
      5. Mist the soil surface with water to provide moisture without disturbing the seeds.
      6. Place the seed tray or pots in a warm location with indirect sunlight or under grow lights.
      7. Keep the soil consistently moist but avoid overwatering, as it may lead to damping off.
      8. The basil seeds should germinate within 7-14 days, and seedlings will emerge.


    Transplanting Basil Seedlings:

    1. Once the basil seedlings have developed their first true leaves and are about 3-4 inches tall, they are ready for transplanting. 
    2. Select a suitable location in your garden or prepare larger pots for transplanting.
    3. If transplanting outdoors, wait until the threat of frost has passed and the soil has warmed up.
    4. Dig a hole slightly larger than the root ball of the seedling.
    5. Gently remove the seedling from its original container, handling it by the leaves rather than the delicate stem.
    6. Place the seedling in the hole, ensuring the top of the root ball is level with the soil surface.
    7. Backfill the hole with soil, gently firming it around the seedling.
    8. Water the transplanted seedlings thoroughly, allowing the soil to settle around the roots.


    Caring for Basil Seedlings:

    1. Keep newly transplanted seedlings well-watered, ensuring the soil remains consistently moist but not waterlogged.
    2. Provide adequate sunlight, aiming for 6-8 hours of direct sunlight daily.
    3. Monitor the soil moisture regularly and water as needed, particularly during hot and dry periods.
    4. Apply a balanced fertilizer every 4-6 weeks to provide essential nutrients for healthy growth.
    5. Pinch off the top sets of leaves once the seedlings have developed a few sets of leaves. This promotes bushier growth and encourages more abundant leaf production.

    By following these steps, you can successfully start basil from seeds and transplant seedlings to their final growing locations. Whether you choose to sow seeds directly or begin with transplants, nurturing your basil plants with proper care and attention will result in a bountiful harvest of flavorful basil leaves.

    Essential Care and Maintenance for Basil Plants

    Proper care and maintenance are essential to ensure your basil plants’ healthy growth and productivity. Here are the key aspects of caring for basil plants:

    Watering Basil Plants:

    • Basil plants require consistent moisture, but overwatering can be detrimental. Water the plants when the top inch of the soil feels dry to the touch.
    • Water deeply, ensuring the water reaches the root zone, but avoid excessive moisture that can lead to root rot.
    • Water in the morning or early afternoon to allow the leaves to dry before nighttime, reducing the risk of fungal diseases.

    Fertilizing Basil:

    • Basil plants benefit from regular feeding to support their growth and flavor. According to package instructions, apply a balanced fertilizer, such as a 10-10-10 or a slow-release organic fertilizer.
    • Start fertilizing once the seedlings have established themselves, and continue every 4-6 weeks throughout the growing season.
    • Avoid over-fertilization, as it can lead to excessive leaf growth at the expense of flavor.

    Pruning and Harvesting Basil:

    • Regular pruning is essential for basil plants to encourage bushier growth and prolong their productivity.
    • Pinch off the top sets of leaves when the plant reaches around 6 inches in height. This stimulates branching and prevents premature flowering.
    • Harvest basil leaves regularly by cutting just above a pair of leaves. This encourages new growth and helps maintain a compact and healthy plant.
    • Avoid pruning more than one-third of the plant at a time to prevent stress and promote continued growth.

    Pest and Disease Control:

    • Monitor your basil plants regularly for signs of pests such as aphids, whiteflies, or slugs. Remove any visible pests by hand or use insecticidal soap or natural remedies like neem oil if necessary.
    • Prevent fungal diseases by providing proper airflow, avoiding overhead watering, and ensuring the soil is well-draining.
    • If fungal diseases like powdery mildew or downy mildew appear, treat them with appropriate fungicides or organic solutions as recommended.

    By following these care guidelines, you can maintain healthy and productive basil plants. Remember to adjust your watering, fertilizing, pruning, and pest control practices based on your basil variety’s specific needs and conditions. Proper care will reward your basil plants with abundant fresh, aromatic leaves to enhance your culinary creations.

    Tips to Increase the Growth of Your Basil Plants

    If you want your basil plants to grow vigorously, here are some simple tips to maximize their growth:

    1. Sunlight: Place your basil plants in a sunny spot where they can receive at least 6-8 hours of direct sunlight each day. If growing indoors, position them near a south-facing window or use grow lights.
    2. Soil Quality: Use well-draining soil enriched with organic matter. Add compost or well-rotted manure to improve soil fertility and drainage before planting.
    3. Watering: Keep the soil consistently moist by watering when the top inch feels dry. Avoid overwatering to prevent root rot.
    4. Fertilizing: Feed your basil plants regularly with a balanced fertilizer, following the instructions on the package. Start fertilizing once the seedlings are established and continue every 4-6 weeks during the growing season.
    5. Pruning and Harvesting: Pinch off the top sets of leaves when the plants reach about 6 inches tall to encourage bushier growth. Harvest the basil leaves regularly by cutting just above a pair of leaves to stimulate new growth.
    6. Mulching: Apply organic mulch, such as straw or wood chips, around the plants to retain moisture, suppress weeds, and regulate soil temperature.
    7. Supportive Structures: Use stakes or small trellises to support taller basil varieties and prevent the bending or breaking of stems.

    By following these straightforward tips, you can promote healthy and vigorous growth in your basil plants, ensuring a bountiful harvest of aromatic leaves for your culinary adventures.

    Handling Common Issues with Basil

    Basil plants may encounter some common problems, but you can address them with these simple solutions:

    1. Pests: Remove pests by hand or use natural remedies like neem oil or insecticidal soap.
    2. Fungal Diseases: Prevent fungal diseases by providing good airflow, avoiding wet foliage, and treating with appropriate fungicides if necessary.
    3. Wilting or Drooping Leaves: Adjust your watering practices to moisten the soil without overwatering or underwatering.
    4. Yellowing Leaves: Ensure proper nutrient balance with a balanced fertilizer, improve drainage to prevent waterlogged soil, and address pest issues promptly.
    5. Bolting (Premature Flowering): Pinch off flowers as soon as they appear to redirect the plant’s energy toward leaf production.

    By implementing these simple strategies, you can effectively handle common issues and help your basil plants thrive.


    Growing basil in your garden doesn’t need to be complicated. It is a lovely and inspiring plant for fresh eating and deterring pests in your garden. It should be the perfect addition to any garden. 

    Learn more about basil with these posts:

  • What is Peat Moss? What Are More Sustainable Options to Use

    What is Peat Moss? What Are More Sustainable Options to Use

    image of peat moss pots with the words what is peat moss on top

    Gardeners have long used Peat Moss as an amendment in potting soils (these were our top picks for potting soil) to help with moisture retention, but recent studies have confirmed that Peat Moss is an unsustainable product, and gardeners need to be seeking alternatives. In this post, we will identify what peat moss is and why it isn’t an option for those looking to be sustainable gardeners. We will also share peat moss alternatives for gardeners who want to be eco-friendly to consider when purchasing or amending their soil. 

    peat bog extraction

    What is Peat Moss

    Peat moss, or sphagnum moss, is decomposed plant material that forms in wetland environments. It has high water retention, acidity, and fibrous texture. Used as a soil amendment, like perlite, improves soil structure and moisture levels. It is used most often in potting soils and raised bed soil mixes to help create better moisture levels. However, its extraction from peatlands raises environmental concerns such as carbon emissions and biodiversity loss. Exploring sustainable alternatives is essential for minimizing its ecological impact while supporting gardening needs.

    peat bog extraction

    How is Peat Moss Used in the Garden

    Peat moss is a versatile material with several practical applications in gardening. Here are some common uses:

    1. Soil Amendment: Peat moss is often added to garden soil to improve its structure and texture. Its fibrous nature helps loosen compacted soil, allowing for better root penetration and drainage.
    2. Seed Starting: Peat moss is an excellent medium for starting seeds. It provides a sterile and moisture-retentive environment that promotes successful germination. Its fine texture also allows for good seed-to-soil contact.
    3. Container Gardening: Peat moss is widely used in container gardening. It helps retain moisture in pots, preventing them from drying out too quickly. Its lightweight nature also reduces the overall weight of containers.
    4. Acid-Loving Plants: Peat moss has natural acidity, making it suitable for plants that prefer acidic soil conditions, such as azaleas, rhododendrons, and blueberries. It can be mixed into the soil or used as a top dressing around these plants.
    5. Mulching: Peat moss can be used as a mulch to suppress weed growth and conserve soil moisture. It forms a protective layer over the soil, preventing weed seeds from germinating and reducing water evaporation.

    When using peat moss in the garden, it is essential to consider its environmental impact. Gardeners can explore sustainable options such as compost, coconut coir, or leaf mold as an alternative or supplement. These alternatives offer similar benefits while minimizing the ecological footprint associated with peat moss extraction.

    peat pots that are in a brown room and sprouts coming out

    Understanding Peat Moss’s Environmental Impact

    Peat moss extraction and usage have significant environmental implications that need to be understood. Here are the key aspects of its impact:

    1. Carbon Emissions: Peatlands, where peat moss forms, act as crucial carbon sinks, storing vast amounts of carbon dioxide. However, when peat moss is extracted from these peatlands, it releases carbon into the atmosphere. The draining and drying of peatlands during extraction cause the decomposition of organic matter, releasing stored carbon as carbon dioxide, contributing to greenhouse gas emissions and climate change.
    2. Habitat Destruction: Peatlands are unique and fragile ecosystems that provide habitats for a wide range of plant and animal species. The extraction of peat moss involves draining and degrading these ecosystems, leading to the destruction of habitat for specialized flora and fauna. This loss of biodiversity can have long-lasting ecological consequences.
    3. Water Loss and Soil Degradation: The drainage of peatlands for peat moss extraction disrupts the natural water-holding capacity of these wetland ecosystems. This alteration affects water availability and can lead to changes in hydrological patterns, potentially impacting nearby water bodies, such as rivers and lakes. The degradation of peatland soils due to extraction practices further exacerbates these environmental issues.
    4. Loss of Ecosystem Services: Peatlands provide important ecosystem services, such as water purification, flood control, and maintenance of water tables. Peat moss extraction disrupts these services, potentially compromising water quality, exacerbating flooding risks, and affecting the hydrological balance in surrounding areas.

    Considering the environmental impact of peat moss, it is crucial to explore alternative gardening practices that reduce or eliminate its usage. Sustainable options like compost, coconut coir, and leaf mold can provide similar benefits while minimizing the negative ecological footprint associated with peat moss. We can preserve valuable ecosystems and mitigate climate change impacts by adopting these alternatives and promoting responsible peatland conservation.

    tomato plant seedlings

    Environmentally Sustainable Alternatives to Peat Moss in the Home Garden

    While peat moss has been a popular choice for gardeners, several environmentally sustainable alternatives are available. Here are some alternatives to consider:

    1. Coconut Coir: Coconut coir, derived from coconut husks, is an excellent substitute. It has similar water retention capabilities and improves soil structure. Coconut coir is a renewable resource and is often produced as a byproduct of the coconut industry.
    2. Compost: Using compost as a soil amendment provides numerous benefits. It enriches the soil with organic matter, improves nutrient availability, and enhances soil structure. Compost can be created from kitchen scraps, yard waste, and other organic materials, making it an eco-friendly choice. Though compost is a great option, buying the right one is even more important. I always suggest looking local first. Making your own is also best. Compost can sometimes use peat moss, so look and read labels. You can read more in our Soil Course right here
    3. Leaf Mold: Leaf mold is the result of the decomposition of autumn leaves. It enhances soil fertility, retains moisture, and improves soil structure. Leaf mold can be made by collecting fallen leaves and allowing them to decompose over time.
    4. Peat-free Potting Mixes: Many commercial potting mixes now offer peat-free alternatives. These mixes incorporate various organic materials, such as compost, coir, bark, and wood fiber. They provide similar benefits to peat-based mixes.
    5. Wood bi-products: These products would be things like sawdust or wood shreds from mixed hardwoods. These are typically arborist or woodworker bioproducts, but they make great garden options to retain moisture just as peat does. 

    When considering alternatives, it is essential to assess their suitability for specific plants and gardening needs. Experimenting with different options and finding the right combination for your garden can lead to sustainable and thriving plant growth. By transitioning away from peat moss and embracing eco-friendly alternatives, we can cultivate healthy gardens while preserving our precious ecosystems.

     
    hands with gloves holding soil

    Benefits of Peat Moss Alternatives

    Exploring alternatives to peat moss in gardening offers several environmental and plant health benefits. Here are the advantages of using sustainable alternatives:

    1. Reduced Carbon Footprint: Peat moss alternatives, such as coconut coir, compost, and leaf mold, contribute to lower carbon emissions. By choosing these options, gardeners help minimize the release of stored carbon into the atmosphere, mitigating the impact of climate change.
    2. Enhanced Soil Structure: Sustainable alternatives improve soil structure by promoting better aeration and water drainage. Coconut coir and compost, for example, have excellent water retention properties while preventing soil compaction. They create a favorable environment for root growth and nutrient absorption.
    3. Improved Moisture Retention: Alternatives like coconut coir and compost retain moisture effectively, reducing the frequency of watering. This property is especially beneficial in dry climates or for plants that require consistent moisture levels.
    4. Nutrient Availability: Compost and organic alternatives enrich the soil with essential nutrients. They provide a natural source of plant nutrients, fostering healthier growth and reducing reliance on synthetic fertilizers.
    5. Support for Beneficial Soil Microorganisms: Peat moss alternatives contribute to the development of a robust and diverse soil microbiome. The organic matter in compost and leaf mold serves as a food source for beneficial soil organisms, fostering a balanced ecosystem underground.
    6. Environmental Conservation: Choosing peat moss alternatives helps preserve peatlands, delicate ecosystems that provide numerous ecological benefits. By reducing peat moss extraction, gardeners contribute to the conservation of these unique habitats, protecting biodiversity and maintaining crucial ecosystem services.

    By embracing sustainable alternatives to peat moss, gardeners can create thriving gardens while actively supporting environmental stewardship. These alternatives offer a range of benefits that promote healthy plant growth, reduce environmental impact, and contribute to a greener future.

    coco coir as a seed starting medium

    How to Use Alternatives in the Home Garden

    Sustainable alternatives to peat moss can be effectively used in various gardening practices. Here’s how they can be applied in the garden:

    1. Soil Amendment: Similar to peat moss, alternatives like coconut coir, compost, and leaf mold can be incorporated into garden soil. Mix them thoroughly with the existing soil to improve its structure, water retention, and nutrient content. Aim for a balanced ratio based on the specific requirements of your plants.
    2. Seed Starting and Transplanting: Peat moss alternatives are ideal for starting seeds and transplanting seedlings. Use coconut coir or a mixture of compost and vermiculite as a seed-starting medium. Their moisture retention and nutrient-rich properties create a favorable environment for successful germination and initial growth.
    3. Container Gardening: Peat moss alternatives are well-suited for container gardening. Fill containers with a blend of coconut coir, compost, and perlite or vermiculite. This combination provides excellent drainage, moisture retention, and nutrient availability, supporting healthy root development in potted plants.
    4. Mulching: Apply compost or leaf mold as a natural mulch around garden beds, containers, and plantings. Spread a layer of about 2-3 inches around the base of plants, ensuring it doesn’t touch the stems. Mulching helps retain soil moisture, suppresses weeds, and promotes a more favorable microclimate for plant roots.
    5. Soil Improvement: When faced with challenging soil conditions, such as heavy clay or sandy soils, incorporate compost or coconut coir to enhance soil fertility and structure. Work these alternatives into the soil during bed preparation or as top dressings for existing plantings.
    6. Amending Potting Mixes: Commercial potting mixes often contain peat moss. Opt for peat-free mixes that utilize coconut coir, compost, or other organic materials. If using a pre-packaged mix, supplement it with additional compost or coconut coir to enhance its water retention and nutrient content.

    Remember to assess the specific needs of your plants and make adjustments accordingly when using peat moss alternatives. Experimentation and observation will help you determine your garden’s ideal combination and application methods, ensuring optimal plant growth while reducing environmental impact.

    Peat moss has been used for a long time in gardening, but it has recently begun being banned for its environmental impacts. Many amazing alternatives have just as great benefits in your garden and lower impact on the environment as well. Using peat moss in your garden isn’t necessary, but it is important to understand what it is. 


    Learn more about soil by taking our Soil Basics course. You will learn everything you need to know about soil and amending it properly. As a bonus, you receive a 3-month membership to our online community as well for taking the course. 

  • Best Companion Plants for Broccoli

    broccoli growing in a garden with text over the top

    Broccoli is a favorite to grow in most gardens. It is a favorite vegetable of many people, but it can be challenging to grow because of one little culprit; the cabbage moth. The green larvae caterpillar gets on your brassicas or broccoli, creating havoc everywhere. In this post, I will tell you how to avoid Cabbage Moths better without spraying but instead using Companion Planting methods to deter them from your plants. 

    What is Companion Planting?

    First, we must understand what Companion Planting is before we even begin to use it. 

    Companion planting is the method of pairing plants that benefit one another together in a method called interplanting. The idea has existed for over 12,000 years and can also be called permaculture. It more or less uses notes from nature to plant vegetables, herbs, and flowers together to create a full ecosystem that deters and invites various bugs and pollinators in to balance things out. In contrast, Mono-culture is the opposite system, where you grow all the same things together and on their own. This method lends to a higher chance of pests and disease. Using a method like companion planting, though it isn’t perfect, can be extremely beneficial in creating a more balanced ecosystem and lowering the pressure of pests, weeds, and more to have a better chance of growing plants with ease and less intervention. 

    If you want to dive deeper into companion planting, you can learn more in our Companion Planting Course and our Beginner Gardener Courses, which are both available with a Membership to our Community.

    broccoli in a garden

    Benefits of Using Companion Plants with Broccoli

    Some of the benefits of companion planting with your broccoli are exciting to most gardeners, particularly if you have grown them before and had issues at all. 

    • Helps lower the chances of disease:
      Polyculture ensures that a variety of plants co-exist, wherein a monoculture can create a perfect environment to spread disease or invite pests.
    • Help Deter Pests Naturally:
      By using companion plants, we can use plants to attract bugs away from potentially susceptible plants. We can also deter pests to never even come near specific plants as well. This involves not spraying or using chemicals “organic” or not. Most of the time, this works or works enough to keep the damage low where the plant is not harmed and still produces without any issues.
    • Creates a pollinator-friendly and beautiful garden:
      The visual benefits are nearly enough to make anyone want to companion plant. Bringing all these plants together creates a beautiful ecosystem in your garden where just 1 or 2 plants in a garden bed or group don’t offer as much chance for various colors and textures in a bed. Companion planting creates a natural world to benefit our visual eye and the pollinator’s interest.
    • You can plant more in a smaller area:
      Since companion planting involves mixing many plants, you can disregard some plant spacing rules on seed packets. You still have to consider the size of the plant will be in maturity, but you can plant more plants in a bed. Meaning if a seed packet says you can plant 2 tomatoes within 24-28 inches of each other, it isn’t just referencing size but also nutrient draw on the soil. So take the size but not the spacing into consideration. Since you can plant more intensely, it naturally increases your yields.
    • Lower Weed Pressure:
      When you interplant, there is less space and sunlight for weeds to gain any ground, so your weed pressure lowers, and your plants thrive more easily. 
    • Deter disease:
      When all the same plants are planted together, it just asks for disease issues. Mixing different plants can keep the disease from spreading since some plants cannot take on the disease from others. 

    onions and swiss chard growing next to each other in the garden

    Best Companion Plants For Broccoli

    Here are the best companion plants for to choose from:

    The most powerful to deter the cabbage moth:

    • Onions
    • Thyme
    • Dill
    • Oregano
    • Lavender
    • Garlic
    • Chives
    • Marigolds

    Other helpful companions to bring in pollinators and will be helpful to growing successful broccoli:

    • Hyssop
    • Chamomile
    • Celery
    • Peppermint (contained in a pot)
    • Sage
    • Basil
    • Rosemary
    • Potatoes
    • Beets
    • Radishes
    • Carrot
    • Cucumber
    • Nasturtium
    • Spinach
    • Swiss Chard

    Cabbage moth on a purple flower

    Worst Companion Plants For Broccoli

    As important as it is to understand the best plants to plant with your broccoli, it is also important to understand the worst ones too:

    Do not plant these with your broccoli or rotate them one after the other:

    • Tomatoes
    • Eggplant
    • Lima Beans
    • Peppers
    • Squash
    • Pole Beans
    • Snap Beans
    • Strawberries

    Crops that are heavy feeders similar to broccoli and will draw too much off the soil and hinder growth:

    • Watermelon or any melons
    • Pumpkins
    • Sweet Corn
    • Fennel
    • Asparagus

    green broccoli leaves in the garden

    Understanding companion plants for Broccoli is so important. You will find that intermixing these plants in and around your broccoli will make for a happy garden bed and ecosystem that may surprise you and just be absolutely beautiful to look at. 

    Other Related Companion Planting Information:

  • Best Companion Plants for Broccoli

    Best Companion Plants for Broccoli

    broccoli growing in a garden with text over the top

    Broccoli is a favorite to grow in most gardens. It is a favorite vegetable of many people, but it can be challenging to grow because of one little culprit; the cabbage moth. The green larvae caterpillar gets on your brassicas or broccoli, creating havoc everywhere. In this post, I will tell you how to avoid Cabbage Moths better without spraying but instead using Companion Planting methods to deter them from your plants. 

    What is Companion Planting?

    First, we must understand what Companion Planting is before we even begin to use it. 

    Companion planting is the method of pairing plants that benefit one another together in a method called interplanting. The idea has existed for over 12,000 years and can also be called permaculture. It more or less uses notes from nature to plant vegetables, herbs, and flowers together to create a full ecosystem that deters and invites various bugs and pollinators in to balance things out. In contrast, Mono-culture is the opposite system, where you grow all the same things together and on their own. This method lends to a higher chance of pests and disease. Using a method like companion planting, though it isn’t perfect, can be extremely beneficial in creating a more balanced ecosystem and lowering the pressure of pests, weeds, and more to have a better chance of growing plants with ease and less intervention. 

    If you want to dive deeper into companion planting, you can learn more in our Companion Planting Course and our Beginner Gardener Courses, which are both available with a Membership to our Community.

    broccoli in a garden

    Benefits of Using Companion Plants with Broccoli

    Some of the benefits of companion planting with your broccoli are exciting to most gardeners, particularly if you have grown them before and had issues at all. 

    • Helps lower the chances of disease:
      Polyculture ensures that a variety of plants co-exist, wherein a monoculture can create a perfect environment to spread disease or invite pests.
    • Help Deter Pests Naturally:
      By using companion plants, we can use plants to attract bugs away from potentially susceptible plants. We can also deter pests to never even come near specific plants as well. This involves not spraying or using chemicals “organic” or not. Most of the time, this works or works enough to keep the damage low where the plant is not harmed and still produces without any issues.
    • Creates a pollinator-friendly and beautiful garden:
      The visual benefits are nearly enough to make anyone want to companion plant. Bringing all these plants together creates a beautiful ecosystem in your garden where just 1 or 2 plants in a garden bed or group don’t offer as much chance for various colors and textures in a bed. Companion planting creates a natural world to benefit our visual eye and the pollinator’s interest.
    • You can plant more in a smaller area:
      Since companion planting involves mixing many plants, you can disregard some plant spacing rules on seed packets. You still have to consider the size of the plant will be in maturity, but you can plant more plants in a bed. Meaning if a seed packet says you can plant 2 tomatoes within 24-28 inches of each other, it isn’t just referencing size but also nutrient draw on the soil. So take the size but not the spacing into consideration. Since you can plant more intensely, it naturally increases your yields.
    • Lower Weed Pressure:
      When you interplant, there is less space and sunlight for weeds to gain any ground, so your weed pressure lowers, and your plants thrive more easily. 
    • Deter disease:
      When all the same plants are planted together, it just asks for disease issues. Mixing different plants can keep the disease from spreading since some plants cannot take on the disease from others. 

    onions and swiss chard growing next to each other in the garden

    Best Companion Plants For Broccoli

    Here are the best companion plants for to choose from:

    The most powerful to deter the cabbage moth:

    • Onions
    • Thyme
    • Dill
    • Oregano
    • Lavender
    • Garlic
    • Chives
    • Marigolds

    Other helpful companions to bring in pollinators and will be helpful to growing successful broccoli:

    • Hyssop
    • Chamomile
    • Celery
    • Peppermint (contained in a pot)
    • Sage
    • Basil
    • Rosemary
    • Potatoes
    • Beets
    • Radishes
    • Carrot
    • Cucumber
    • Nasturtium
    • Spinach
    • Swiss Chard

    Cabbage moth on a purple flower

    Worst Companion Plants For Broccoli

    As important as it is to understand the best plants to plant with your broccoli, it is also important to understand the worst ones too:

    Do not plant these with your broccoli or rotate them one after the other:

    • Tomatoes
    • Eggplant
    • Lima Beans
    • Peppers
    • Squash
    • Pole Beans
    • Snap Beans
    • Strawberries

    Crops that are heavy feeders similar to broccoli and will draw too much off the soil and hinder growth:

    • Watermelon or any melons
    • Pumpkins
    • Sweet Corn
    • Fennel
    • Asparagus

    green broccoli leaves in the garden

    Understanding companion plants for Broccoli is so important. You will find that intermixing these plants in and around your broccoli will make for a happy garden bed and ecosystem that may surprise you and just be absolutely beautiful to look at. 

    Other Related Companion Planting Information:

  • When To Plant Pumpkins In Time For Halloween

    When To Plant Pumpkins In Time For Halloween

    orange pumpkins on grass with text over laid

    Pumpkins are one of the most prized crops in a garden. With their large size and gifts at the end of the growing season, they feel like the ultimate reward to a diligent gardener. If you are thinking of growing your own pumpkins this year, it is so important, no matter where you live to understand the timing for planting them and the best practices to consider for a successful harvest. Many would like to have pumpkins to decorate for Halloween, so understanding this timing is key! In this post, I will give you all the info you need to grow your own pumpkins, whether for your porch for decoration or for just enjoying as the weather cools down. 

    various types of pumpkins and squash all piled together

    Types of Pumpkins

    Part of knowing when to plant your pumpkins is knowing which variety you will be growing. Here is a list of the main types of pumpkins:

    • Jack-O-Lantern: 
      These are the classic varieties that are used for Halloween. Their maturity is between 90-120 days, depending on the specific variety
    • Sugar Pie Pumpkin:
      These pumpkins are designed specifically for cooking and canning of their meat and flesh after they are baked. You can see how to save our own pumpkin in this post. It takes between 85-110 days. These are Mid to small-sized pumpkins typically.
    • Colored Pumpkins:
      These varieties are often solely for decoration, but some varieties are not and can serve as food and decor. Check the labels of your seed packets. The maturity ranges between 90-120 days
    • Miniature Pumpkins:
      These small pumpkins typically mature in 80-100 days’ time, which is great if you are short on time in your growing season. These are also great if you have a smaller space. 
    • Giant Pumpkins:
      These varieties are obviously very large and require a lot of time to mature. If you have a short season but want to grow them, make sure that you begin them as a start before you plant them out. Their maturity length is 120-180 days. 

    These are specific types of pumpkins; each one needs a different length for maturity. Narrowing in on the ones that are right for your zone, which you can learn about here in the Old Farmer’s Almanac, will help you know which type to choose so you can nail the timing for your Hardiness Zone and garden. 

    White farmhouse with wood door and pumpkins on porch

    When to Plant Pumpkins to Harvest by Halloween

    Knowing when to plant your pumpkins so you can get them in time for Halloween will come down to a simple little equation. If you know your Hardiness Zone, then you can determine the amount of time you will have to grow this crop during the warmest times of the year. It will need plenty of water as well as fertile soil. I suggest doing the following to time your pumpkins no matter where you live:

    1. First, determine how many warm days from the last frost to the first frost you have relatively. 
    2. Then determine the variety and see how many days it needs to mature fully. If you grow a jack-o-lantern variety, you may need 90-120 days, so count back from your last frost date 120 days to be safe. Where do you land?
    3. Knowing this date, you can then determine if you have time to direct seed or use transplanted pumpkins. Many times, transplanting will ensure you have plenty of time to get the desired harvest. Even giving you an extra 2-3 weeks jump start will ensure a great harvest. 

    This simple perspective can change your success with growing pumpkins in time for Halloween. It doesn’t have to be complicated. Just knowing the parameters you are working within. 

    orange pumpkins in a field sitting on ground

    Direct Seed vs. Transplants for Pumpkins

    To determine if you need to direct seed or use transplants is simple, do you want a jump start on your season? Is your growing season shorter? How much space will be allowed to give to the pumpkins to let them grow the way they need to? Transplants are also a great way to miss the times of Squash Vine Borers in the garden since they have a short season for many northern growers. 

    What Month is Best to Plant Pumpkins?

    The best time to plant pumpkins completely depends on the specific variety, your climate (hardiness zone), and length of time. Though all these factors exist, the time is usually somewhere between April and July for planting, whether you direct seed or use transplants. Typically the soil needs to have reached 60°F (15.6°C) for you to plant and have germination and not stress the plant. 

    various colors of pumpkins and squash all piled together

    When Is It Too Late to Plant Pumpkins?

    After July, it is too late to plant squash and pumpkins for the most part unless you are in a warmer region over Hardiness Zone 8. In those regions, growing pumpkins later may make sense since the weather is warmer but still cool enough not to shift their flavor and production. 

    How Long Does It Take Pumpkins to Grow?

    Depending on the variety, Pumpkins take anywhere from 80-180 days to mature fully. This means you have to know the variety and their specific maturation. Once you know this, you will know how long your pumpkin needs to grow into the fruit you desire to harvest. 

    Blue colored pumpkins all gathered together

    How Do I Know If My Pumpkin Is Ready?

    Like many squash and melons, Pumpkins can be hard to know when they are ready. These simple tricks will help you check in and determine if your fruit is ready to be brought in for enjoyment. 

    1. The stem of the pumpkin should be brown and woody. If it is still green, it isn’t ready. The vine should die back on the fruit. This is a sign it is complete. 
    2. Check the skin to see if it is firm and hard. 
    3. The pumpkin should be the desired color based on the variety you purchased to grow. 
    4. Vines from the plants should be dead and brown, and just the fruit left. 

    These tricks will help you determine if your pumpkins are ready to harvest for Halloween or whenever you desire to have them. 

    Pumpkins can be such a fun and rewarding plant to grow in the garden, but they do take some diligence to understand their timing with how long they need to mature. Typically planting them at the same time as your tomatoes will be aligned well for a successful harvest. 

    Happy growing! 

    Collected Pumpkins of all colors in a farm stand with a sun ray

    To learn more about growing a great garden, feel free to join one of our Free Workshops or check out our Beginner Gardener Course so you can learn the basics of how to grow almost anything in your garden this year. 

    Check out our Podcast to learn even more about gardening as well. 


  • Shed Ideas You Will Love For Your Garden

    Shed Ideas You Will Love For Your Garden

    shed with letters over it

    A shed is a great way to bring storage, function, and interest to your yard. The idea of a shed is a fun way to create space to create outside too.  They are a versatile addition to any outdoor space, providing storage, workspace, and even a place to relax and unwind. There are so many different types, designs, and features to choose from, it can be tough to know where to start. That’s why we’ve put together this list of some of the sheds that inspire us.

    This post will cover different types of sheds and what we love about them. This should help you narrow in on what you are looking for. So you can design and build the right shed for yourself. 

    Looking for some other ideas, our Chicken Coop Buildout is a great inspiration for building out shed ideas. Though our’s is a coop, it could easily be a shed considering its size. 

    Key Features of a Great Shed:

    Designing a good garden shed begins with some forethought. So before we get into inspiration for you, let’s nail down some key details that make a great shed. 

    • Size: The size of your shed will depend on how you plan to use it. If you are using it to pot and store things, make sure it is at least the size you can fit inside and move around. 
    • Material: There are many different materials to choose from when building a shed, including wood, metal, and vinyl. Each material has its own advantages and disadvantages, so consider your budget, aesthetic preferences, and climate when making your choice. You may consider using materials that are repurposed as well. Leftover construction materials can also be a great thing to use. 
    • Roof design: To design a garden shed to look right aesthetically, the pitched roof will be key. A good pitch will ensure it has a great look and design to it. If the pitch is too flat, it won’t have the same aesthetic appeal. 
    • Windows: Windows are such a great way to add visual interest and bring in natural light to the space. 
    • Flooring: Make sure you choose the flooring that will be resistant to the wear and tear of a garden. You will also want it to most likely to be able to have a drain or washable flooring. This will make it easier to keep clean. 
    • Doors: Make sure to have at least a single door, but in some cases, a double door is a great idea so you can move a wheelbarrow in or out. 
    • Lighting and electrical: If you want electricity to run to it, you hire a professional to install fixtures and plugs.
    • Landscaping: To complete the look of your shed, making a landscaping plan is essential. 

    If you think about all these things, you will have a great shed! Now let’s check out some ideas I am loving for sheds. 

    black modern shed in a garden with double glass windows

    Modern Garden Shed:

    Modern garden sheds are the new thing! I love this trend of adding really smart prefab buildings into our gardens. It brings architectural contrast to the wild landscape of a garden. It may be one of my favorite trends. This shed is from Victoria Sprout, who should be one of your top follows on Instagram. Her shed was built in a day. She has a whole story about it! I highly suggest checking it out. 


    cedar potting bench by a black shed

    Add a Potting Bench Inside or Out:

    I love thinking of a shed as a multi-sensory space. Contrasting the cedar of a potting bench with the white or black interior is so nice. I highly suggest making sure you have this sort of space in your garden shed. You can easily put it inside as well. You can see more from this feature on Hunted Interiors

    white garden shed with open doors

    White Garden Shed:

    The white garden shed concept will always be cool to me. I love how white counteracts the green. Plus, the white makes it a cooler space as well as reflects light onto all of your plants during the growing season. I love how the wood and white look together. This one was a feature in Domino Magazine of floral designer Cynthia Zamaria.


    organized garden tools and pots

    Smart Shed Organization:

    Are you even making a great shed if you don’t think about the organization? Oh gosh, this is the best part. Make sure that your garden shed has a place for every single thing. It’s the best part. I think more gardens should think about this. That said, I love how terracotta pots were used in this updated shed by Made on 23rd.


    greenhouse with attached greenhouse

    Add a Greenhouse To Your Shed:

    I dream of building a garden shed with a greenhouse like this attached. One day the time and space will be right for me, but just not yet. Till then, I will swoon over these ones like this one from Greenhouse Megastore for inspiration. 


    green garden shed with cedar roof

    Painted Garden Shed:

    We see garden sheds in black, wood, or white, but what about color?! I think a great shed plays with the landscape around it. I love the idea of adding a tone of green to make it play with the growing flowers and grasses, and vegetables. I love this one from Cosy Shed Company


    All these garden shed ideas are so great to get you going in a great direction for designing and building your own shed. If you want more ideas for how we constructed our Coop, which is the size of a standard garden shed, you can head to the post about how we designed and built our shed ourselves. This post also details how to build your own DIY Garden Fence